Run Windows 10 applications on an Adafruit SPi touchscreen for Raspberry Pi. Follow instructions to install the display driver and touch.
Story
How it Works
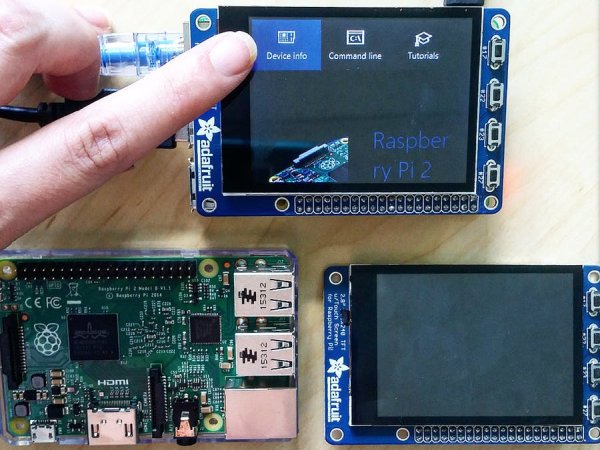
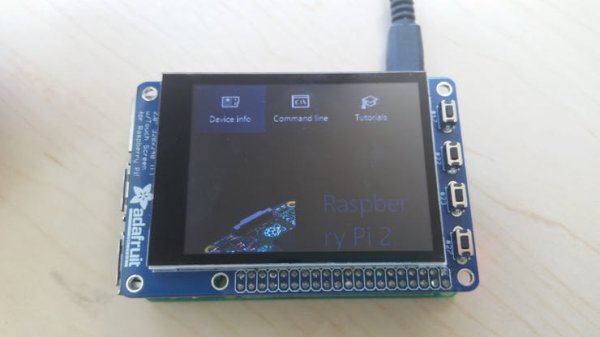
This project explains how to use the Adafruit PiTFT capacitive touch screen for Raspberry Pi.
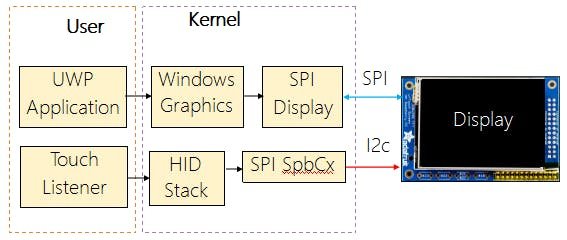
To support this screen, a kernel-mode display-only driver was created to establish direct access to the Adafruit PiTFT display via SPI. The driver initializes the display and presents at 16 frames per second.
To allow for direct user interaction with the display, a User-Mode Touch Injection Background Service establishes touch input through an I2C bus and uses a HID injection driver to inject touch events. Touch capabilities include single point touch (pressing) and swiping. UWP XAML windows application running on the Pi will present without any changes.
Initial Setup:
- Set up your PC and Raspberry Pi according to these instructions.
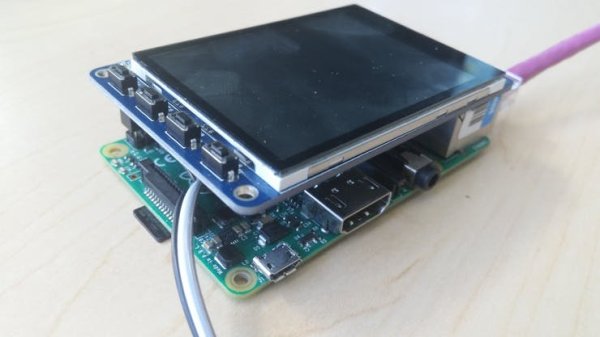
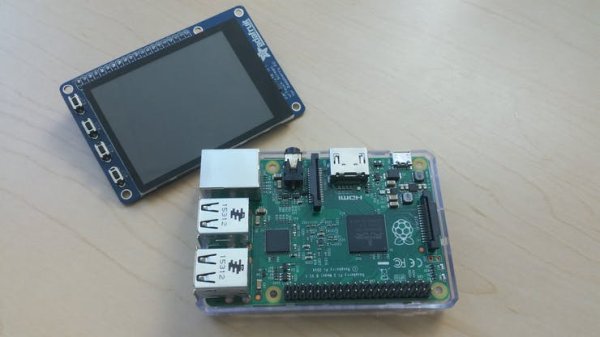
- Next, match the pins of the Adafruit PiTFT to those of the Pi to mount the display.
Software Setup:
From the initial setup, be sure to note your Raspberry Pi’s IP address as this will be necessary going forward. This project currently requires that you build several drivers and user mode applications.
Please install the following environments:
Step 1.
Download the screen provider source code from https://github.com/ms-iot/ScreenProvider and extract to your file system. Note the location.
Step 2.
Open a command window, and change the directory to where you extracted the screen provider source code.
Step 3.
Navigate to the directory ScreenProvider\drivers\fixedkmdod\KMDOD.
Step 4.
Compile the spidisplay.asl file using the following command.
C:\Program Files (x86)\Windows Kits\10\Tools\x86\ACPIVerify\asl.exe" spidisplay.asl
Step 5.
Open the solution in the kmdod folder and compile this driver for ARM.
Step 6.
Open a run dialog and navigate to your Raspberry Pi over the network.
\\<your IP address>\C$
Step 7.
Create a directory called ‘Deploy’ on the Raspberry Pi and copy the following files from your computer to that new directory:
ACPITABL.dat
SampleDisplay.inf
SampleDisplay.sys
Step 8.
Connect to the Raspberry Pi using an SSH client as described here.
Step 9.
Change the directory to the path below and copy the the .DAT file from the directory created above.
C:\Windows\System32
The display driver should now have all the correct files. There are a few more steps to get it running.
Running the Display Driver:
- Install the driver package in your terminal by running the command below. You can check to make sure it’s added using devcon dp_enum or delete it with devcon dp_delete
devcon dp_add C:\Deploy\sampledisplay.inf
- Restart your Pi to see the display running.
Adding Touch:
- Follow these instructions to setup the HID Injection driver.
- Put HidInjector.exe from the project folder into the deploy folder.
- Schedule the HidInjector to run on boot by running this command on the Raspberry Pi via SSH:
schtasks.exe /Create /SC ONSTART /TN \Microsoft\Windows\HidInjector\Start /TR %SystemRoot%\Deploy\HidInjector.exe
- Restart your Raspberry Pi.
UWP Applications:
Congratulations, you are now able to run any UWP application on the Adafruit PiTFT touch display.
Developer Comments:
Diagram flow of the interaction between User and Kernel mode and SPI/I2c buses going to the Display.