
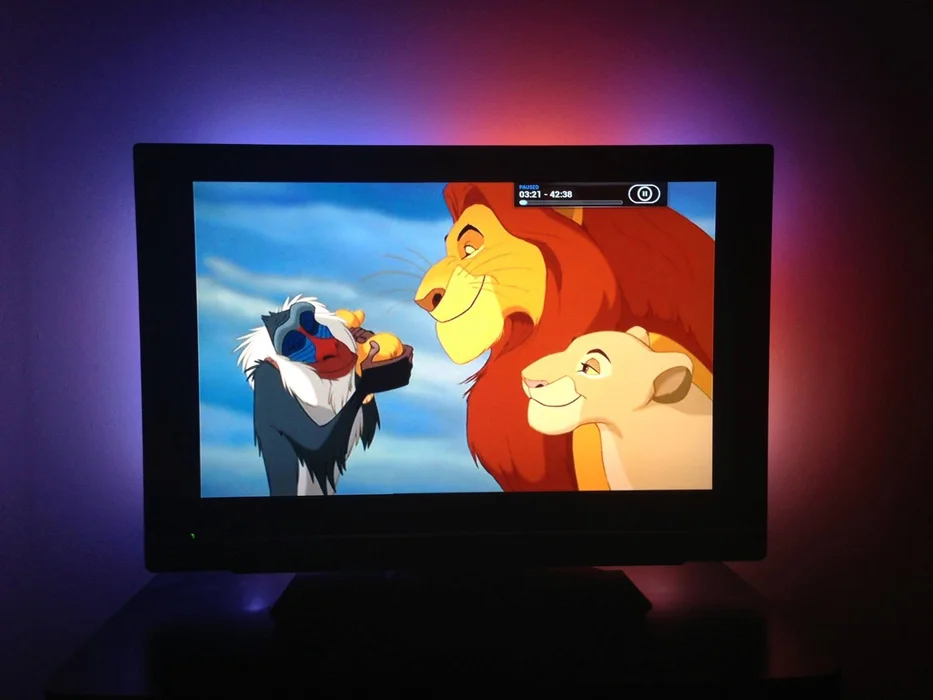
I have been always amazed by Philips Ambilight TV. Unfortunately they were pretty expensive, and this is why I have looked for an easy cheap solution to be able to create the same user experience. This was my first Raspberry Pi project, and it's pretty simple and good for beginners. Everything is based on different materials I have found online, especially with the help of the guys of the raspbmc project (today OSMC).
Sit tight, read carefully, and prepare yourself for one of the greatest TV hacks exists 🙂
Step 1: Gather the right supplies
- Raspberry Pi (35$+) – My pi runs raspbmc, but it is also possible with OSMC, open elec, and any other media service. There are tons of tutorials for setting up a pi with any of the above. In case you run any problem – just let me know.
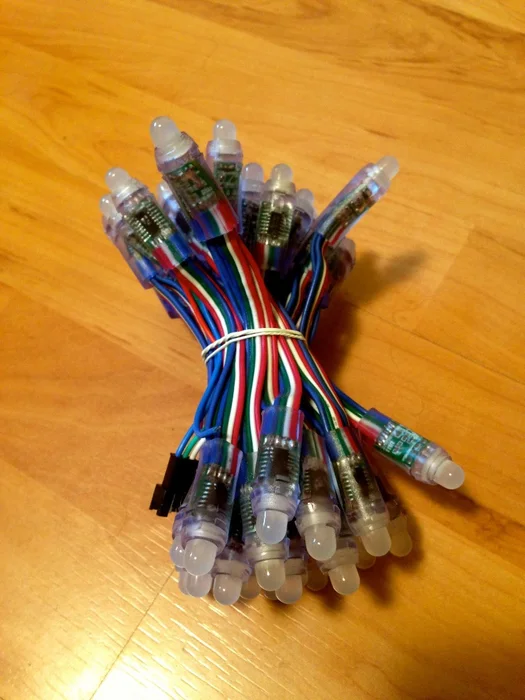
- WS2801 LEDs Chain (30$/60$) – I have built it for my 32″ TV so I used a chain with only 50 LEDs. In case your TV is larger, you can order two chains (total of 100). A 50 LEDs chain costs about 30$.
- 5V 2A Power Supply Unit (PSU) with output plug of 5.5mm (8$) – A good PSU is important, you should also let it use enough current so the colors will be correct. For example, a good way to see if your PSU is not strong enough is if the white light is a bit pinkish or blueish. In case you use only one chain, 5V 2A should be find, otherwise, get 2A for each chain you use (even 2.5A).
- Female 5.5mm jack (1$) – In order to connect the chain to the power supply we need this jack. Connect a red wire to the ‘+', the blue to the ‘-‘.
- Board the size of the TV – You can use an old TV box. We will talk a bout the board in the next steps.
- Jumper Wires
Step 2: Connect the Pi to the LEDs
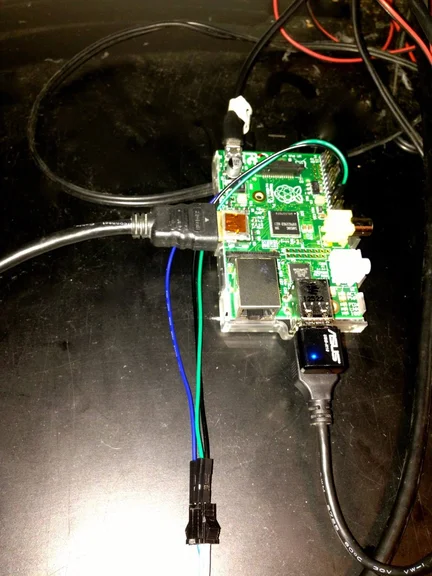
It's time to connect the LEDs chain to the pi. I have used a raspberry pi 1 (the second version with the 512MB), but I will state the names of the ports we need to connect the wires to, so googling “raspberry pi gpio diagram” with the version you have will show you the details.
I have used the diagram that can be found on: http://boblight.googlecode.com/svn/wiki/diagram.pn…
- Connect the blue wire of the chain to GND (pin6) – That will provide us a ground potential.
- Connect the green wire of the chain to SCLK (pin23) – That provides the slave (==chain) clock.
- Connect the white wire of the chain to MOSI (pin19) – That provides the data.
Step 3: Configure Bob light on the Pi
Now, on a system with bob light installed, we will configure it to match our chain. We might go back to this step again later on, after connecting the chain. If you get everything right there's no need to.
We need to create couple of files:
- bob light.conf – The file that hold the configuration of the LEDs. It uses percentages to show the exact position of each LED. Think about it such that each LED shows the average color of a square of the screen. The square is defined by the numbers you see in this file. Later that will help us position the LEDs. This file should be placed in /etc/bob light .conf.
- boboptions.txt – There is no further editing necessary for this file, you can copy mine. This file should be placed in your user directory.
More information about the configuration file can be found here: https://github.com/timsat/boblight-lightpack/wiki/…
There are many online bob light.conf generators you can find, just google `bob light conf generator` and use your favorite one.
After everything is ready we can test to see that it really works by running the command (from terminal):
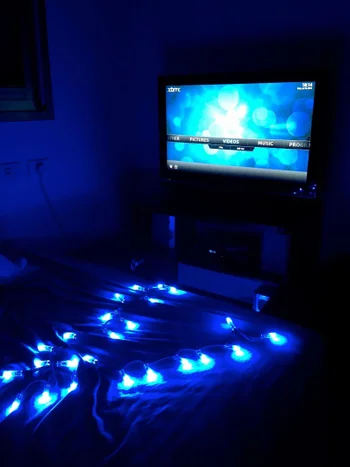
sudo bob light-constant 0000FF
That should light the LEDs in blue (all of them). The color is given by RGB format, you can use an online converter to try any other color you like. I recommend test the PSU with white color, see if you get a bright white, if so – the PSU is good 🙂
Step 4: Prepare the Board
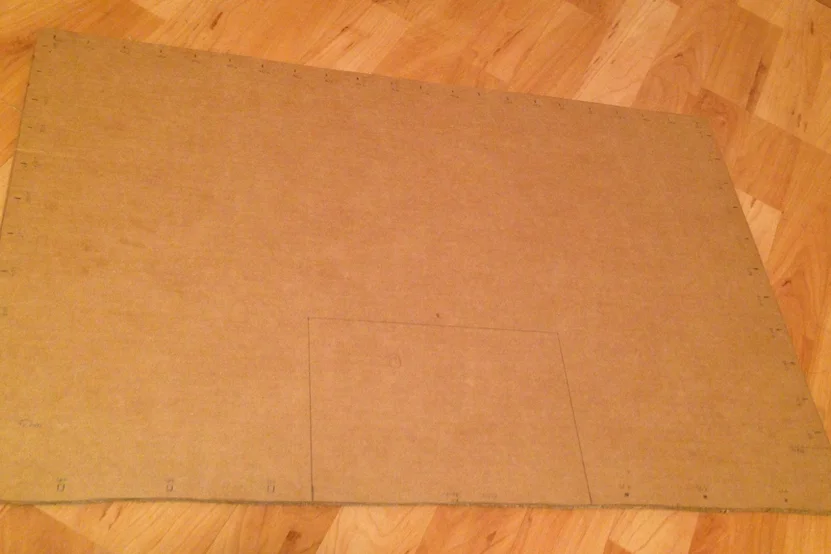
The board is the most important and complicated part. There can be many versions for that, such as wood board, metal or even carton as I used. All last and good.
- Pick up a board and cut it in the shape of your TV.
- As explained at the previous step, mark all the places where LEDs should be placed. I have taken each square we average (at the configuration file) and chose to place the LED right in its center.
- On the sides of each mark, make a hole about 2mm to each side. I have used a thin screw driver to do that.
- Around each mark, use a zip tie that will be used to connect the LEDs to the board.
- Connect the LEDs, make sure that you start from the correct position and go counter or clock-wise, depends on your configuration file.
Now we are ready for connecting the pi.
Step 5: Make Them All Work Together…
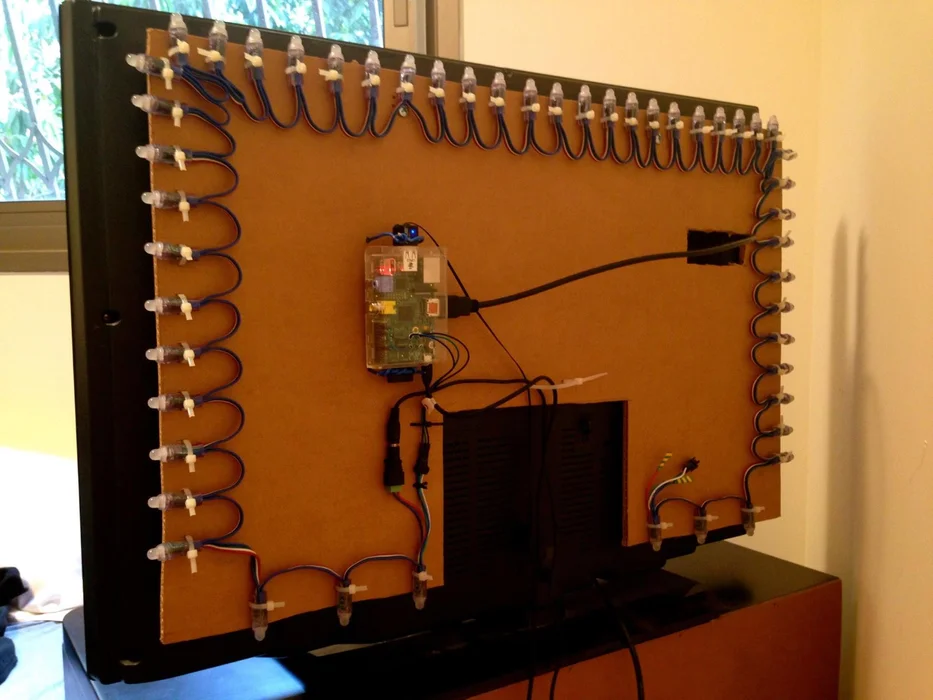
I have made a place for the pi, and eventually connected everything together.
Now when you run your Kodi, the LEDs will change their color depends on the screen.
Step 6: How to Improve It ?
Be creative.
You can use it not only for your TV.
Take the idea of ambilight, control any LEDs chain you would like, and hook it up with any sensor or controller. For example a nice project can be these LEDs chain that changes the light depends on the music played in the background. You can actually build the Hue if you'd like.
Just look around your home, and I'm sure that you can find awesome places that can be automated 🙂
Step 7: Future Plans
The ambilight receives its input from the raspberry pi, as well as the TV. That means that the ambilight won't work on any video playing not from the raspberry pi. I have seen a demand for such a thing, and I will try to look and see if it's doable. I have seen some cheap Chinese HDMI processor, I will see if there's something to do with it and if it's possible to create an ambilight based on an HDMI probe.
For more detail: Ambilight TV