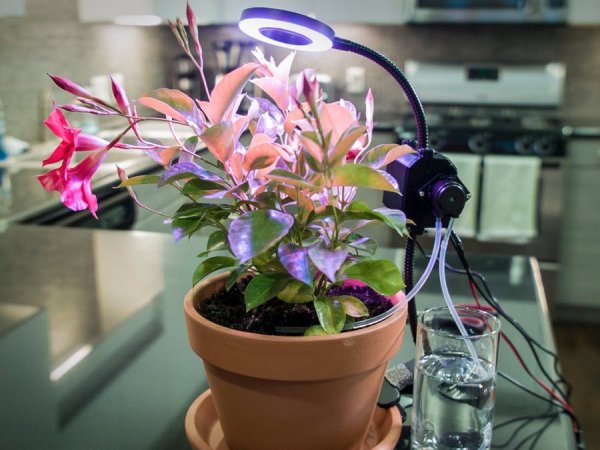
Never worry about dead plants again. This automated gardener never forgets to water your plants and provide artificial sunlight.
Story
Introduction
With how busy our lives are, it's sometimes easy to forget to pay a little attention to your thirsty indoor plants until it's too late and you are left with a crusty pile of yellow carcasses. Instead of constantly replacing those plants, we'll show you how to make a compact, automated, Raspberry Pi-powered gardener to water and light your plants. This gardener's memory is impeccable, and never forgets to water your plant.
Check out this video to see how it works, and for a demonstration on how to make it:
Wire the Electronics
Step 1
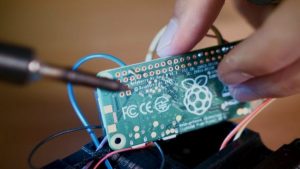
We started by wiring the electronics for the gardener. This project is controlled by a Raspberry Pi Zero W. You don't need to have wifi for this project because the code runs off a scheduler, but you could also extend the functionality by connecting to a smartphone IoT app like Blynk.

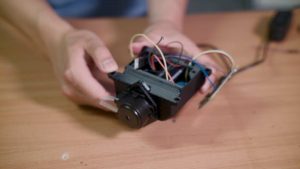
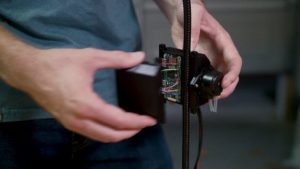
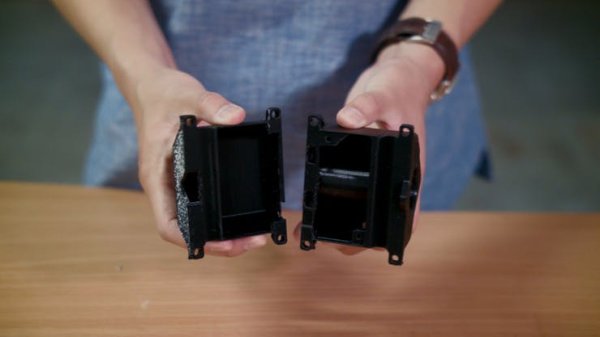
The electronics were attached to a 3D printed case we designed for this project. Both halves were printed out of PLA and had enough space to hide the extra wiring.
Step 2
To power the 12v pump, we tried used a 12v boost adapter that was connected to the 5v input on the Raspberry Pi. However, we noticed that our Raspberry Pi power supply wasn't able to output enough current for the pump motor to run. We decided to switch the 12v boost adapter out for an external 12v switching power supply. You could also use a 12v battery pack or a 12v wall adapter. It'll need to output about 3 amps at 12v.
Step 3
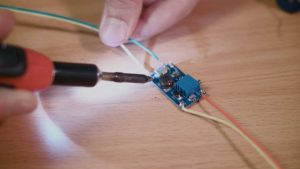
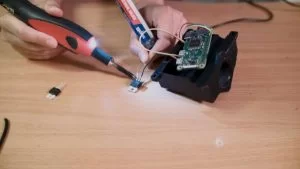
Next, the USB connector was removed from the end of the grow light to expose the 5v power and ground wires. The red wire was soldered directly to a 5v output pin on the Raspberry Pi.
Step 4
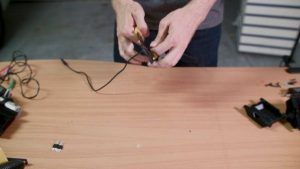
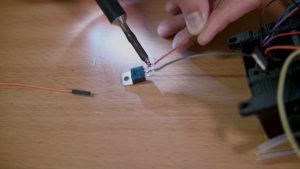
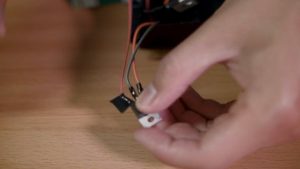
The ground wire from the grow light was soldered to the drain (middle) pin on one of our N-Channel MOSFETs. The source (right) pin was wired to ground on the Raspberry Pi and the gate (left) pin was wired as a signal wire to the GPIO pin 20 on the Pi. When running, pulling the GPIO pin 20 high will turn on the light in this configuration.
Step 5
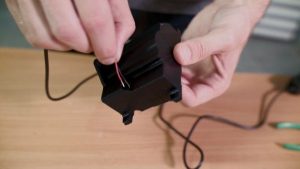
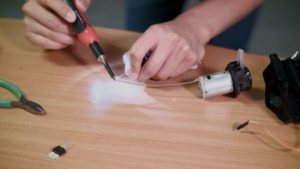
Two wires were soldered to the connectors on the pump motor. The motor was then inserted into the slot for the pump and the wires passed through a small opening at the back. One of the wires was connected directly to the 12v power supply.
Step 6
We added an N-Channel MOSFET for the pump with a similar configuration. The 12v power supply ground wire was attached directly to a ground pin on the Raspberry Pi.
- Drain: ground wire from the pump.
- Source: ground pin on the Raspberry Pin.
- Gate: GPIO pin 12 on the Raspberry Pi.
See our full circuit diagram below for more details about wiring the electronics.
Assembly
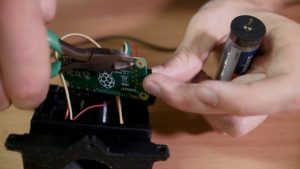
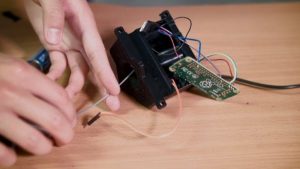
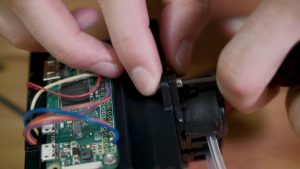
After the electronics were soldered, we tucked the loose wires into the opening on the back of the case. There are a couple holes on the back of the case that can be used to feed two M3 bolts through to attach the Raspberry Pi. Two M2.5 Bolts were also used to secure the pump on the side of the case.
The case has a small cutout for the stem of the 5v grow light. 4 M4 Bolts were used to attach the two halves of the case so that they sandwiched the stem and held the case in place about halfway up the light.
Run the Code
Download the code from our Github repository and navigate to into the folder.
cd Automated-Gardener
Step 1
Open the file with vim (if you don't have vim installed, you can install it with:
apt-get install vim
vim gardener.py
Step 2
Press ‘i' to edit. Modify the pin variables if your signal wires are connected to different pins on your Raspberry Pi.
LIGHT_PIN = 20
PUMP_PIN = 12
Step 3
If you scroll down to the bottom, you can see where the schedule is set:
# Turn water on every 30 minutes for 10 seconds
schedule.every(30).minutes.do(threaded, water, forLength=10)
# Other scheduling examples
#schedule.every().hour.do(threaded, light, forLength=300)
#schedule.every().day.at("10:30").do(threaded, light, action=GardenerAction.turnOn)
#schedule.every().day.at("12:30").do(threaded, light, action=GardenerAction.turnOff)
#schedule.every().monday.do(threaded, water, forLength=30)
#schedule.every().wednesday.at("13:15").do(threaded, light, forLength=30)
schedule.every(30).minutes.do(threaded, water, forLength=10) turns the pump on for 10 seconds every 30 minutes. To change the schedule, you can uncomment some of the scheduling examples by removing the # at the start of the line and changing the time/day. For example, if I wanted to turn the light on for 30 minutes on Wednesday at 2:00 pm, I would write:
schedule.every().wednesday.at("14:00").do(threaded, light, forLength=1800)
Step 4
After you've modified the gardener file, press esc to exit edit mode, then :wqto save and quit. Install a couple dependencies before you start the program.
sudo pip install schedule
sudo pip install rpi.gpio
Run the program.
python gardener.py
Step 5
Press control-c to quit. Get the current working directory by running:
pwd
Step 6
Copy the path, then open rc.local
sudo vim /etc/rc.local
Press i. Before exit 0, add:
python <pwd output>/gardener.py &
Press esc then :wq! to save and quit. When you reboot the PI, the program should start!
Attach the Pump Tubing
After testing the code, we attached the gardener to the plant's pot with the light clip. Our gardener was attached it to the water dish, but you can also attach it to the rim of the pot.
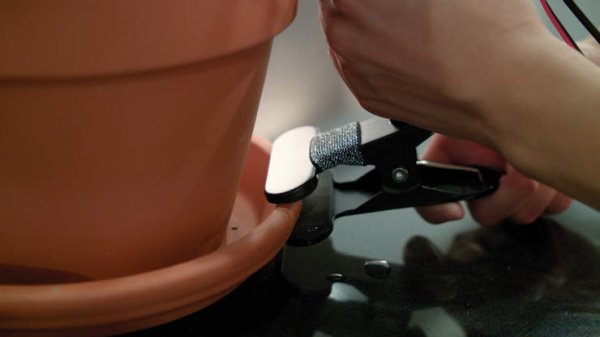
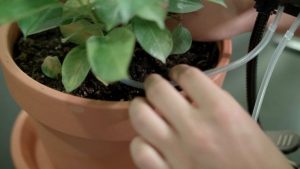
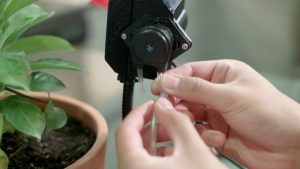
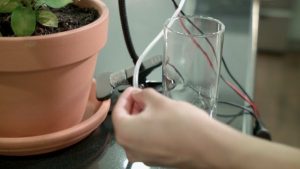
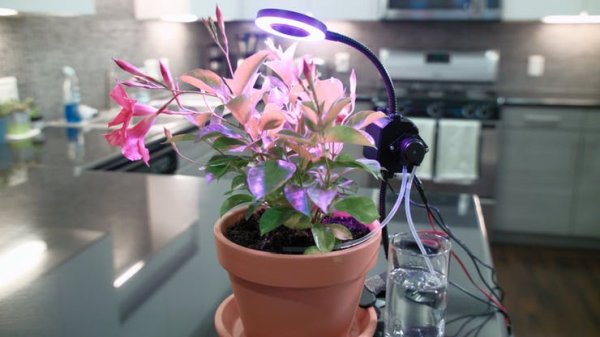
Two silicon tubes were cut and attached to the existing tubes peristaltic pump. The right one was placed in a cup of water near the pot, the other was positioned near the base of the plant because our pump was wired to flow from right to left. You might want to turn the pump on to determine the flow direction of the water.
Finally, make sure to plug in the Raspberry Pi, turn on your 12v power supply, and toggle the grow light on.
Show It Off
You've finished making the gardener! Sit back, relax, and let automation take over from here!
Source: Automated Indoor Gardener


