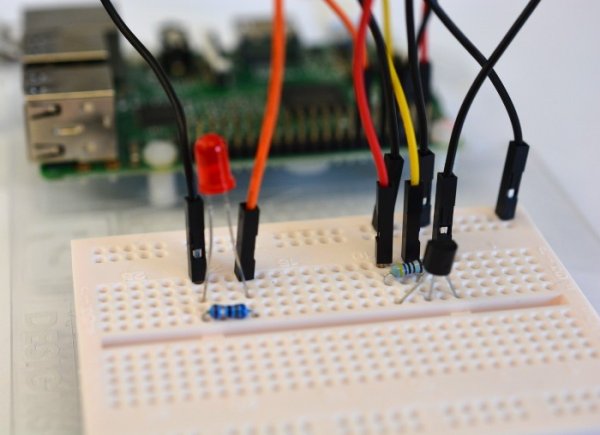
Reading a DS18B20 temperature sensor with Python on the Pi.
In my last post I wrote about Learning Python and GPIO basics with the Raspberry Pi. This post will develop on my initial experiences by using a DS18B20 1-Wire temperature sensor to build a thermostat.
The GPIO pins on the Raspberry Pi do not have an ADC (analogue to digital converter); the RPi only has digital GPIO, so I decided to use the DS18B20 digital temperature sensor, this works on a digital 1-Wire interface.
Sensor Features
Some of the features of Dallas DS18B20 are listed below:
- 1-Wire interface
- Operating temperatures from -55ºC to 125ºC with an accuracy of +/-0.5ºC when measuring between -10ºC and 85ºC.
- Works on a power supply range of 3.0V to 5.5V.
The full specifications of this temperature sensor can be found in the manufacturers data sheet.
Connecting Hardware
To DS18B20 can be connected to the Raspberry Pi like this:
Pi DS18B20
Pin 6 (GND) – Pin 1 (GND)
Pin 1 (VCC) – Pin 3 (VDD)
Pin 7 (GPIO) – Pin 2 (DQ)
A 4.7K – 10K ohm pull-up resistor should be connected in parallel between VCC and GPIO on the RPi. Since the DS18B20 can be powered between 3.0 and 5.5v I chose to do this at 3.3v on Pin 1 of the Raspberry Pi and using a 4.7K ohm pull-up resistor.
ue addresses for your devices (the Kernel creates a directory for each 1-Wire device it detects).
$ ls -l /sys/bus/w1/devices
Accessing Raw Data
To get raw data from the sensor use the cat command to print readings to the terminal.
$ cat /sys/bus/w1/devices/28-000006780b89/w1_slave
Read More: Building a Raspberry Pi 1-Wire Thermostat


