
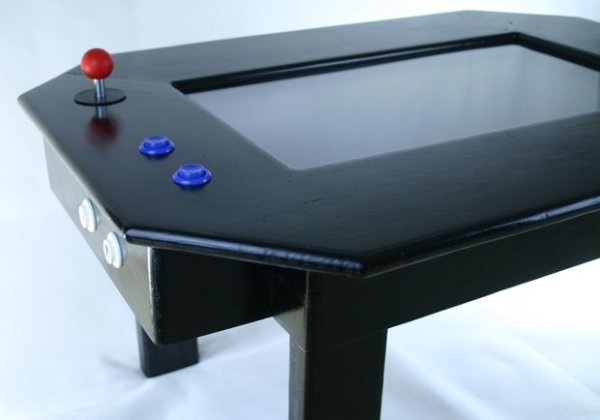
The purpose of this project is to create a modern slimline version of an arcade cocktail cabinet. Also to do other tasks such as browse web or write emails with the use of a wireless keyboard and mouse. The 24 inch LCD screen mounted in the center can be used to do any number of things such as show family photos or updates from social networking sites.
In the spirit of low cost, all the wood work used is recycled. The main expense apart from the raspberry pi itself is for the 24 inch LCD screen in the middle and the arcade joysticks and buttons.
To be child friendly the corners are rounded and perspex is mounted over the LCD screen.
Step 1: Select Your Parts
The LCD screen
I went with a 24inch LCD screen with LED backlight. Select any size screen you wish.
Make sure it has good viewing angles as the screen will be mounted upwards and almost always viewed at an angle. Test out the screen viewed from above and below, from the left and right and make sure it still looks almost as good as when viewed straight on.
Select one that can be wall mounted as it can then be attached to the table from underneath.
Select one that turns on without needing any buttons to be pressed as all the buttons with be hidden inside the table.
The Joystick and Button
This is up to you, I went with a Happ 4 or 8 way arcade ball top joystick, 2 blue American style buttons, 1 player and 2 player buttons.
Perspex sheet 4mm
Cut to the size of the outside edge of the LCD screen, larger than the viewing size of the screen as it will be screwed onto the underside of the top of the table.
Wood, glue, screws, stain and finish
This is all up to what you want to do. I used pine that I recycled from various places. Hot Hide Glue because I wanted to learn about using it. Using screws rather than glue or screws and common wood glue would have been easier.
I used a black stain and then a shellac french polish.
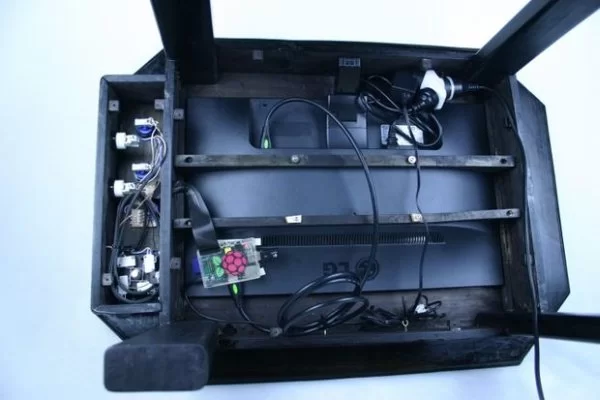
Sound
I recycled a nice 5inch speaker for the sound and used the circuit from an old set of computer speakers. This gave to ability to plug in headphones and automatically turn off the speaker.
Step 2: Woodwork
For more detail: Coffee Table Pi