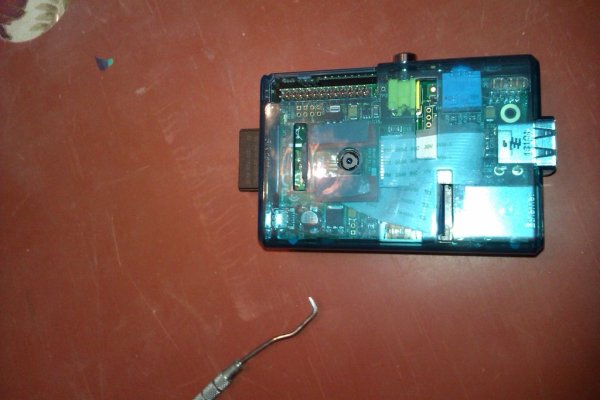
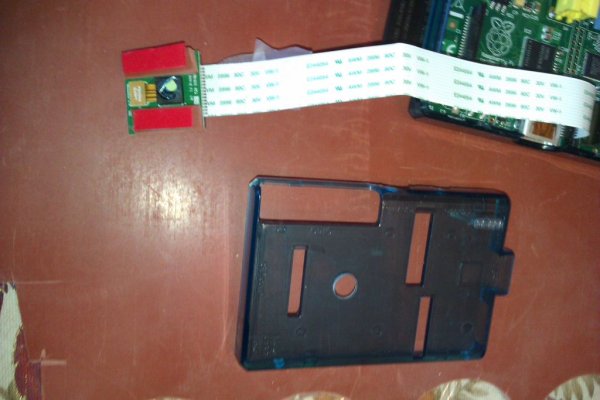
I bought the camera for the Raspberry Pi, and the after market mount just didn't suit my taste.
At the same time I also bought a clam-shell case (~$6) I was padding the bill for free delivery, looking at the case it seemed that it could fit inside with a little work, make that very little work.
So here is what you need.
1. Raspberry pi clam shell case (name your vendor or ebay, and pick your color)
2. Double sided tape (don't skimp by a good grade, radio shack has some mine is just left over)
3. 1/8 in rubber gasket, mine is for plumbing, (I used it for a cannon but that is another story)
Step 1: Build up the mounting bracket with tape and gasket material.
1. Cut 2 pieces of the rubber gasket to go on either side of the camera.
2. Apply double sided tape to one side of the gasket, cut to fit.
3. Remove the red tape backing and add one piece of the gasket to each side of the camera.
4. Apply a layer of double sided tape to the top of gasket material cut to size first.
Important leave the red tape on at the end of step 4.
Step 2: Size up and drill the viewing hole
Place the camera under the top just under the slot to the left of the GPIO interface.
Line it up with the slot as in the picture above.
Using a marker mark the center of the camera viewer (this is why you left the tape on).
Flip it over and first drill a 1/16 inch pilot hole then use the 5/16 go slow so you don't melt or crack the plastic.I went very slow, it won't take that much time.
Step 3: Mount the camera, attach the cable
Remove the red tape covering the adhesive, try to line it up with the slot above the camera hole (top of the camera board parallel with the slot).
Fold the cable gently do not crease it and fit the put the case together.
Note: It will hang over the CPU so do not overclock for this application. In the picture you will still see airspace over the CPU.
For more detail: Easiest Raspberry Pi Camera Mount Ever


