
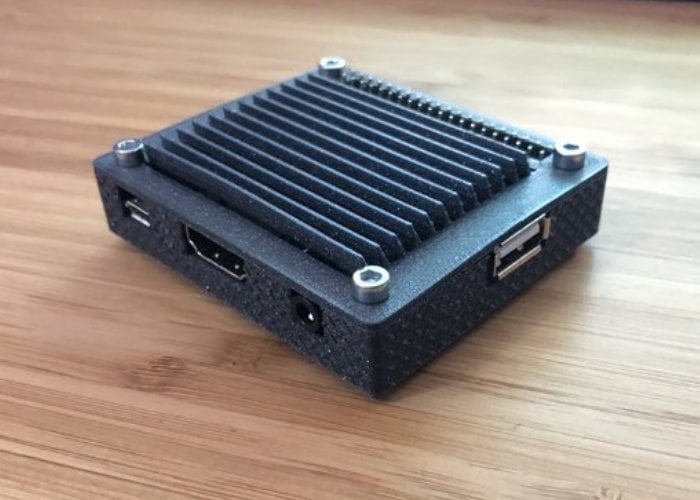
Raspberry Pi enthusiasts with access to a 3D printer may be interested in a new Raspberry Pi case uploaded to the Thingyverse library by member “Weevil_inc“. The latest version uses 4 x M3 x 16 mm screws and 4 x M3 nuts and requires no supports for the printing process._
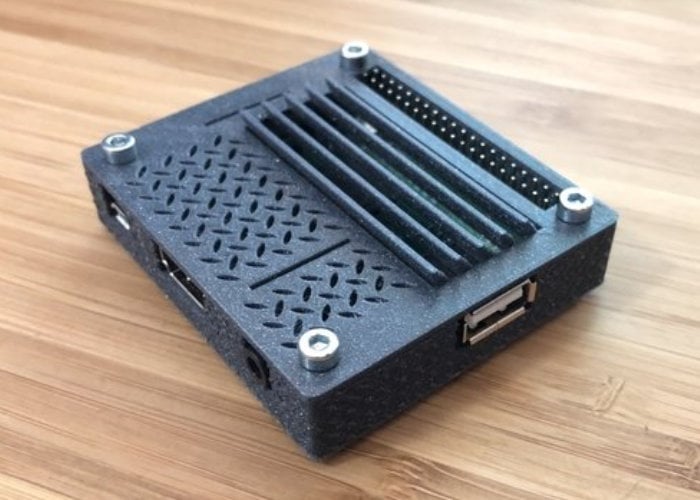
Other features of the latest Raspberry Pi 3 A+ case created by Weevil_inc includes a new cover with holes for camera and display flex cable.
All the files are available to download directly from the Thingyverse website and its creator recommends “to print cover_h.stl with 0,25 nozzle but 0,4 works too”.
The Raspberry Pi 3 Model A+ extends the Raspberry Pi 3 range into the A+ board format.
– Broadcom BCM2837B0, Cortex-A53 (ARMv8) 64-bit SoC @ 1.4GHz
– 512MB LPDDR2 SDRAM
– 2.4GHz and 5GHz IEEE 802.11.b/g/n/ac wireless LAN, Bluetooth 4.2/BLE
– Extended 40-pin GPIO header
– Full-size HDMI
– Single USB 2.0 ports
– CSI camera port for connecting a Raspberry Pi Camera Module
– DSI display port for connecting a Raspberry Pi Touch Display
– 4-pole stereo output and composite video port
– Micro SD port for loading your operating system and storing data
– 5V/2.5A DC power input
For more information on the full range of Raspberry Pi mini PC systems jump over to the official Raspberry Pi Foundation website. If you enjoy building Pi projects you might be interested in our comprehensive list of Raspberry Pi displays, HATS and small screens.
Source: How to interface 16×2 LCD in 4-bit mode with PIC18F4550