
A fridge is a piece of kitchen equipment used to preserve food. It uses cold air to reduce the growth rate of bacteria and slow down the chemical changes happening inside the food, keeping it fresh for longer.
Big household fridges utilize a process that involves the compression and depressurization of a refrigerant, that in turn transfers the heat from inside the fridge to the outside, via the cycles of evaporation and condensation.
However, mini-fridges usually work with electricity, making them far less effective than big freezers. But in turn, they are much simpler to make at home, as all you need is insulation foam and a small electronic module.
On my recent trip to Paris, I had the opportunity to experience the luxury of having a small fridge in my hotel room. It was such a neat concept, that back home, I wanted to try out building something similar with my limited tools and supplies.
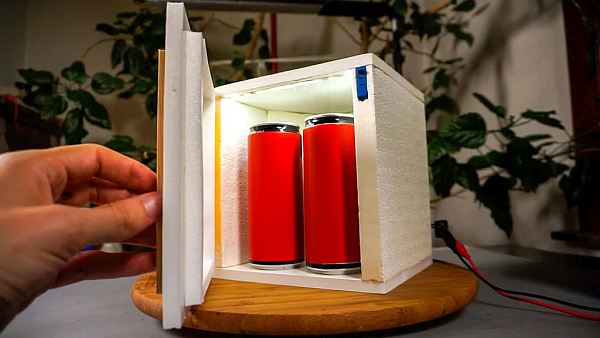
So in this Instructable, we will be making a concept mini fridge. It can be used to cool down drinks and smaller food items in locations where a big fridge can't be brought to – for example when camping. Also, this project will allow us to experiment with the concept of creating cold air with electricity.
Without any further ado, let's get started!
Supplies
1 x 40x40mm Peltier Module
1 x CPU heat sink with its 12v fan
1 x Raspberry style mini heat sink with its 12v fan
1 x 20cm LED strip
1 x 9 mm DC jack
1 x On/Off toggle switch
1 x SPDT Micro switch
2 x zip ties
Thermo paste
Hot glue
A hinge for the door – can be 3D printed
Rectangular or square-sectioned wood sticks
Craft foam or XPS insulation foam
Acrylic or Styrene sheets
Step 1: Watch the Video
I also did an ASMR video about the building process of this fridge:
Step 2: The Peltier Module

A Peltier module consists of two ceramic plates with a semiconductor layer in between. It is a thermoelectric module, meaning it can produce electricity from a difference of temperatures.
To do so, one needs to heat up one side of the module and cool down the other. That in turn will produce an electric current that you could use to power a DIY project (it's called the Seebeck effect).
However, the Peltier module can also be used the other way around: using electricity to create a difference of temperatures.
When current is applied to the wires, one side of the module will lose some of its electrons, and the other side will get a surplus of them. That will allow one side of the module to absorb heat (becoming cold) and the other to radiate it (becoming hot).
By making an insulated enclosure, that keeps the cooled-down air separate from the ambient air, we get a basic miniature fridge.
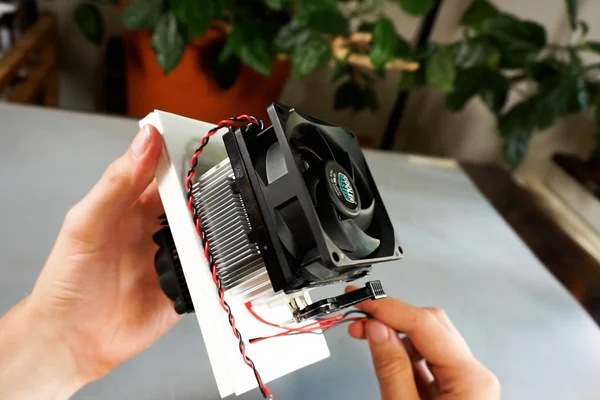
Step 3: The Heat Sinks
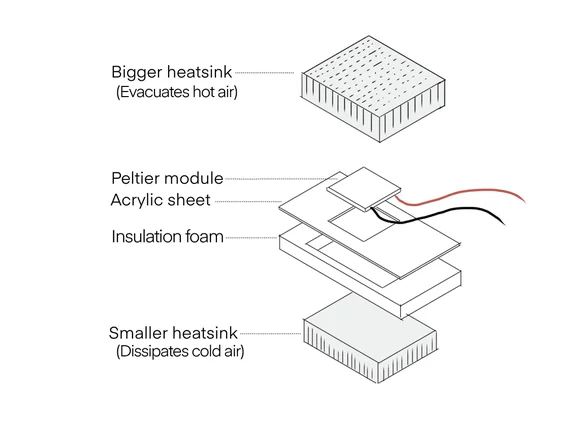
We need to evacuate heat from the hot side of the Peltier module, to allow the cold side to become colder. For that, we will use a big heat sink with a PC fan on the hot side.
The cold side will also get a small heat sink with a fan, to move the cold air away from the module and prevent air stratification.
Note: Both fans need to be 12V.
In order to separate the hot and cold air, we will build a gasket assembly that will surround the Peltier module.
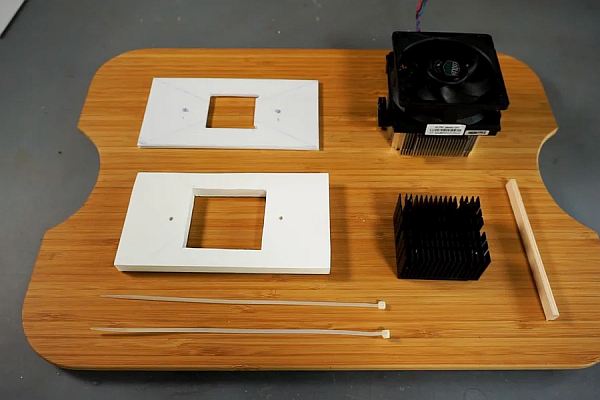
Step 4: Cutting Holes
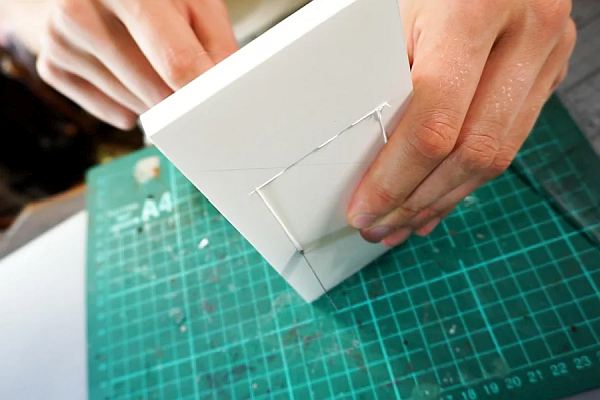
For the gasket, cut a square hole in a 1 cm thick insulation board, that matches the dimensions of the smaller PC fan heat sink.
Then, cut a 40x40mm hole into a 3mm thick sheet of acrylic board, to house the Peltier module – I used 3 sheets of 1mm thick acrylic to make the cutting easier.
Step 5: Smaller Holes for the Zip Ties
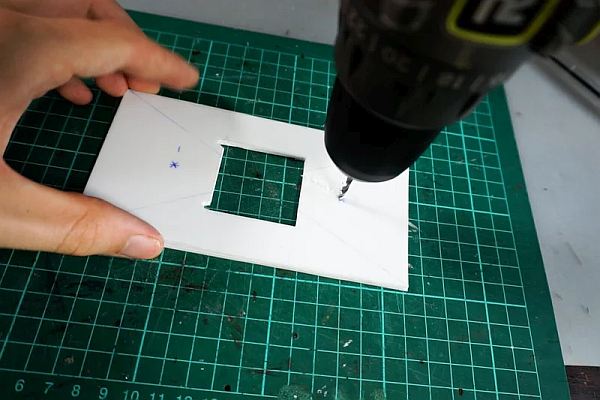
Drill two small holes in the acrylic board, approximately 1 inch or 3 cm from side of the square hole. Then, using a small screwdriver, transfer those holes into the rectangular piece of insulation foam.
These holes will allow two zip ties to go through them later.
Step 6: Figuring Out How to Mount the Heat Sinks
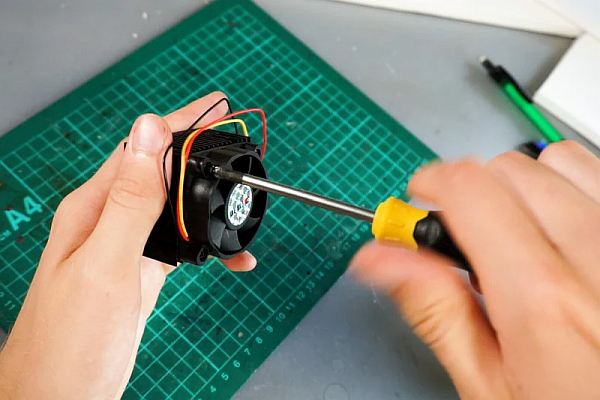
If your heat sinks have a gap in the middle, you can cut a stick of wood and place it between the two halves of the heat sink, to get two mounting points. Similarly to a CPU bracket, those will help keep the heat sink tight against the Peltier module.
However, if your heat sink is one single block, it probably already has a mounting bracket attached that you can utilize.
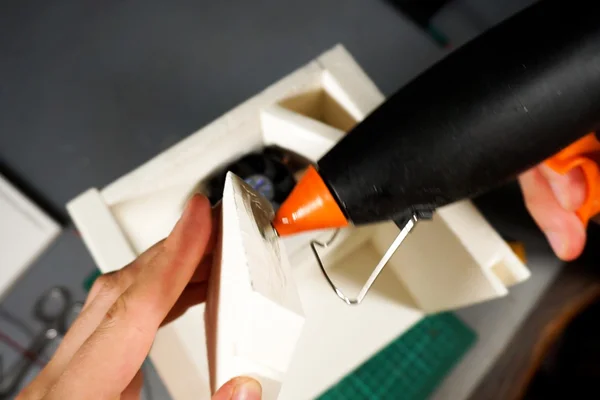
Step 7: Assembling the Peltier Setup
Now that everything is ready, we can put the Peltier gasket assembly together.
First, put the Peltier module in its hole and clean its sides with isopropyl alcohol and a cotton swab.
Then, apply a pea-sized blob of thermal paste and add the heat sink on top. The thermal paste allows heat to be transferred between the surface of the Peltier module and the heat sink.
Do the same for the other fan.
Finally, using two zip ties, pull the two heat sinks together, so that they clamp the Peltier module tightly through the insulation foam and the acrylic sheet.
Click on the 9 more images text above to see all the pictures.
Step 8: A Quick Test
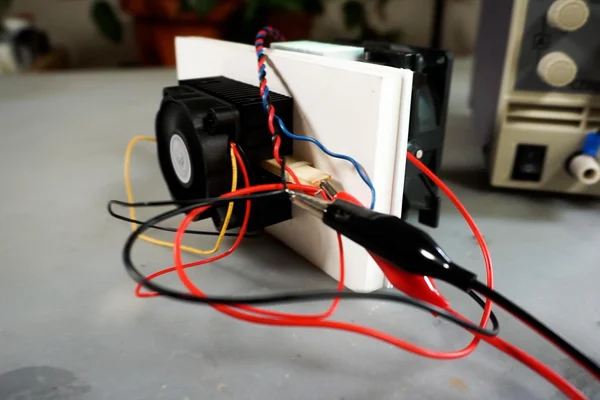
To avoid building the whole fridge with a faulty Peltier module now is a good time to check whether or not it's in working condition if you haven't yet done so.
For that, connect the module and the fans to a 12 V 5 A power supply, and check if one side of the Module emits a cold stream of air.
Step 9: Cable Routing
Drill a hole through the rectangular assembly and bring all the red and black wires from all the components to the same side.
If you see any yellow or blue wires on the fans, you can snip them off as we won't be using them.
Step 10: The Types of Foams
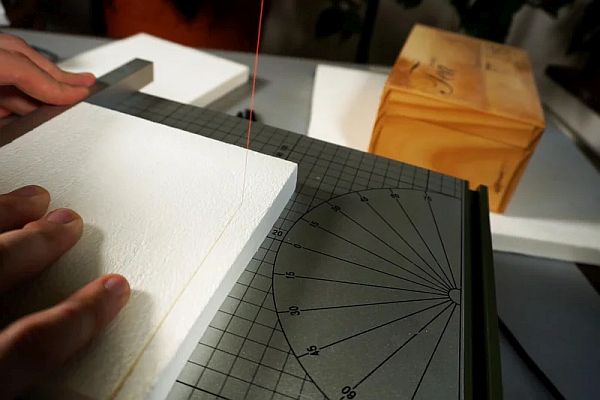
To make the enclosure, I used some thick XPS insulation foam that I cut in half with a hot wire cutter.
You can also use foam board (available in craft stores), as it's very easy to cut and you can find it with all sorts of different thicknesses. It also has a clean and smooth outer surface.
Step 11: Making the Enclosure
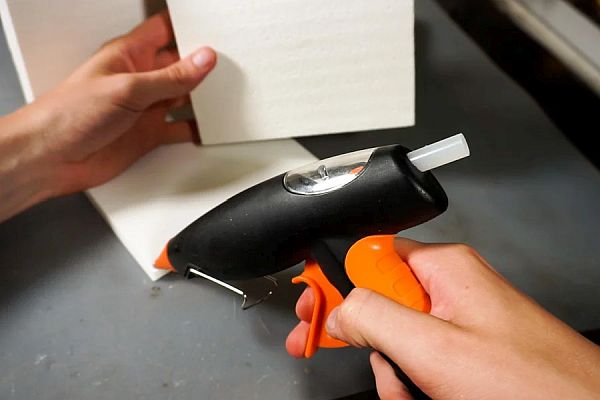
After cutting out the bottom and side panels for the enclosure assemble them with hot glue.
The Peltier module can be installed in the back, with the cold side pointing upwards. That way, the cold air will have to make its way down from the top of the insulated compartment, keeping the air circulating.
Step 12: Adding Lights
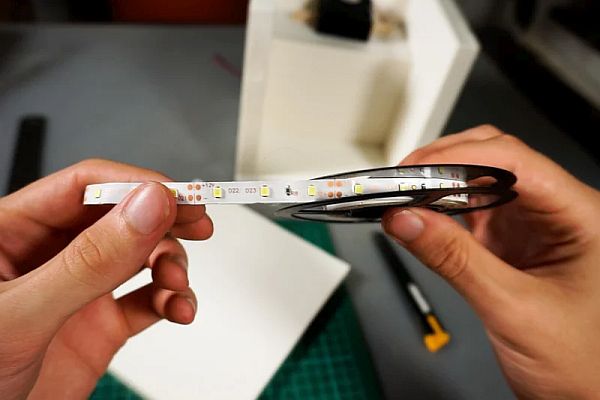
You can hide some 12V LED lights in the top panel of the enclosure, by cutting a slot in the foam to hide the LEDs and the power cable.
Step 13: The Micro Switch
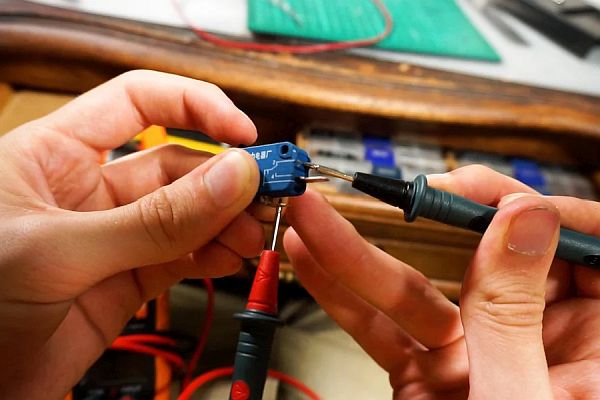
To switch the LEDs on when the door is open, and turn them off when the door is closed, a micro switch can be used.
It has three terminals. We want to keep the circuit open when the door is closed, so we need to find the two terminals that close the circuit only when the terminals aren't connected.
Solder the switch in series with the LED strip, and hide it away in the side panel of the fridge, with just the moving part of the switch sticking out.
Step 14: Minimizing the Coolable Space
Add foam details to keep the refrigerated space as small as necessary. Chamfering corners like that will also make the joints between the panels more airtight and help with the airflow.
Read more: How to Make a Mini Fridge