
This project involves soldering. If you have little or no experience with soldering, make sure you have someone you trust walking you through the project. Always be in a properly ventilated environment when soldering, as it may release toxic fumes into the air.
![]()
This project involves soldering. If you have little or no experience with soldering, make sure you have someone you trust walking you through the project. Always be in a properly ventilated environment when soldering, as it may release toxic fumes into the air.
Supplies
What you'll need:
– Raspberry Pi Pico
– About 30 LEDs, any color
– A piece of cardboard, it doesn't have to be pretty as we are just using it as a template
– Power source, you can also just use the Micro USB cable and a battery pack
Tools you'll need:
– Soldering Iron + Solder
– Pencil
– Micro USB cable
– A computer for programming the Pico
– (Prefered) A helping hands device for holding LEDs to solder
Step 1: Trace the Rough Outline of the Pico
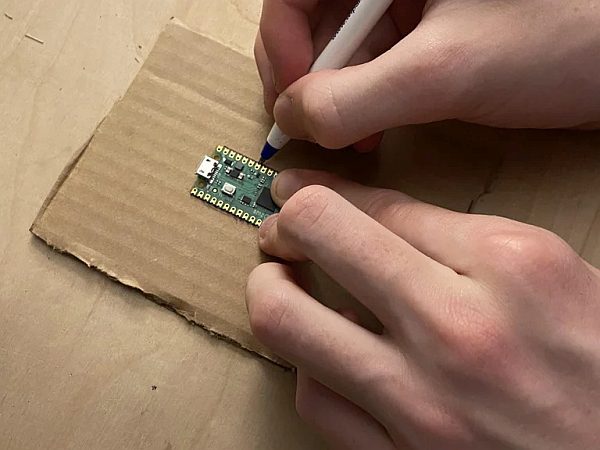
Place the Pico in the middle of the cardboard and trace.
Step 2: Mark LED Positions
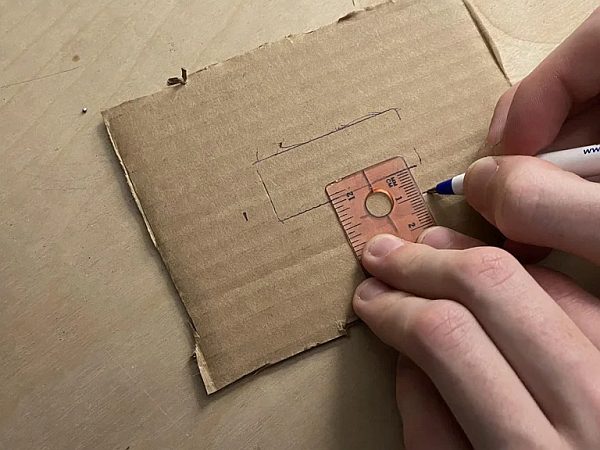
Measure out from the outline 1cm and make a mark, then extend the mark out all the way across the cardboard. Repeat that for all 4 sides. Then, on those lines you just made, starting from the corner where the lines intersect, make a mark every 1cm.
Step 3: Poke Out Each of the Holes

On each of the intersects, use a pencil to poke a hole through the cardboard.
Step 4: Place the LEDs
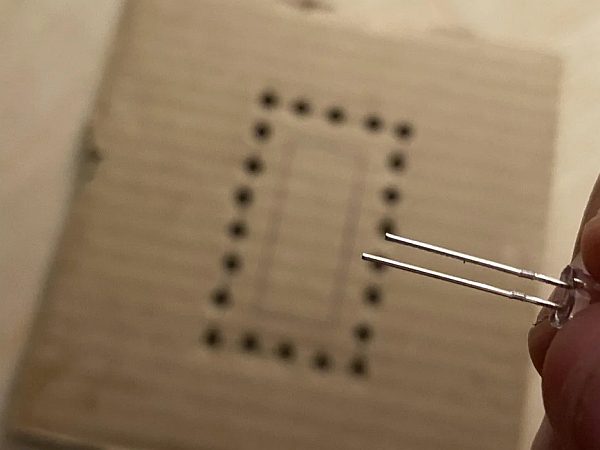
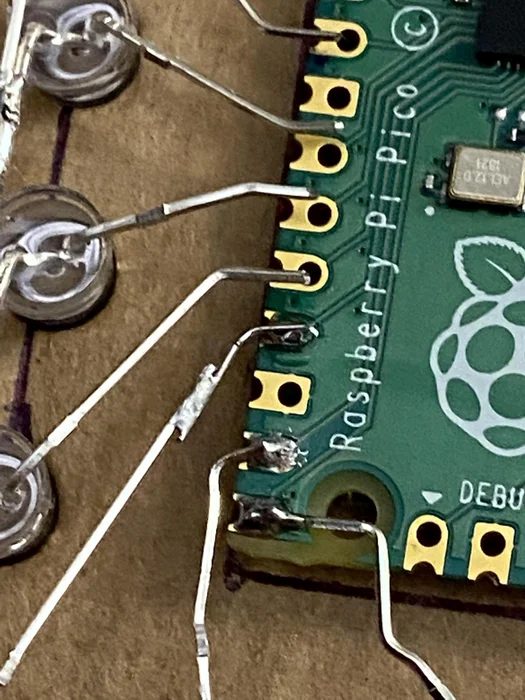
There are 2 legs on each LED, one of which is longer than the other. The long leg is + power, and the shorter one is – power. For our case, we want the long leg facing towards the center Pico outline. Put the Pico in the middle of the original outline (I used some double-sided tape to help keep it in place) and start placing the LEDs. Bend the long legs into the gold pins, in the position shown in the last photo. Some of the LED legs may need to be lengthened to fit into place, see the next step for that. As you go, make sure none of the legs are touching each other, and have at least a moderate gap.
Step 5: Lengthening LED Legs
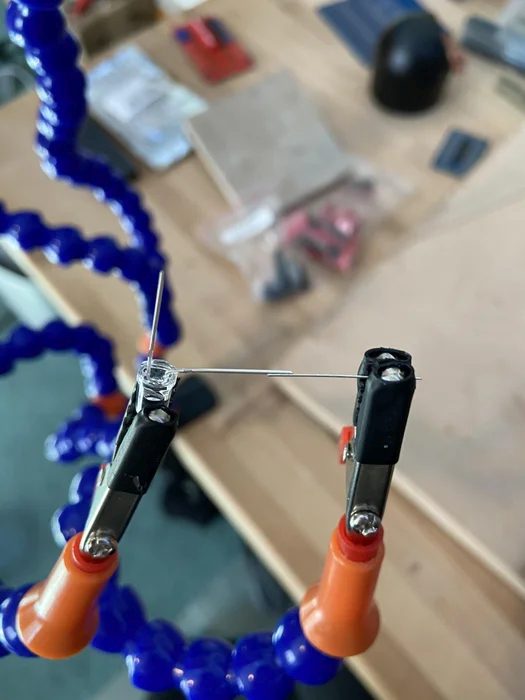
Some of the legs of the LEDs may need to be longer in order to make the gap. In this case, I used some leads from some old resistors and held the LED and extra lead length in a helping hands device, and soldered the gap between them. It may take a couple of tries to get this right.
Step 6: Soldering It All Together
Once you have everything in place in your template, you can start soldering. I recommend soldering all of the ground leads together first, then soldering the positive leads (and main ground lead) to the board.
Step 7: Programming the Board
Now that you have the hardware mostly completed, we can move on to creating the software. The Pico has a variety of different ways to program it, but for this, we will be using MicroPython. To set that up, follow the guide from Raspberry Pi: https://projects.raspberrypi.org/en/projects/getti…
For our base code, we will be defining the pins we are using as well as a setLED() function.
from machine import Pin, PWM
from time import sleep

# Pins that the LEDs are connected to, starting from top left and moving clockwise.
pins = [28, 1, 0, 3, 4, 5, 7, 9, 10, 11, 12, 13, 14, 15, 16, 17, 18, 19, 20, 22, 26, 27]
pinsObjects = []

for pin in pins:
    pinsObjects.append(PWM(Pin(pin, Pin.OUT)))

for pin in pinsObjects:
    pin.freq(1000)

def setLED(pos, brightness):
    brightness %= 1
    brightness = minZero(round(brightness * 65025))
    pinsObjects[pos].duty_u16(brightness)

def minZero(num):
    if (num < 0):
        num = 0

    return num
Step 8: Making Patterns
Now that we have our base code defined, we can make some different patterns for our badge. A simple one we can make is just a chase sequence. This is not even close to the limit on what you can make with this, and I challenge you to go beyond and make your own patterns and experiment.
def flipFlop(on, every):
    for pin in range(len(pinsObjects)):
        if (pin % every == on):
            # Set LED to 5% brightness
            setLED(pin, 0.05)
        else:
            # Set LED to 0% brightness
            setLED(pin, 0)


while True:
    ran = 11

    for i in range(ran):
        flipFlop(i, ran)
        sleep(0.1)
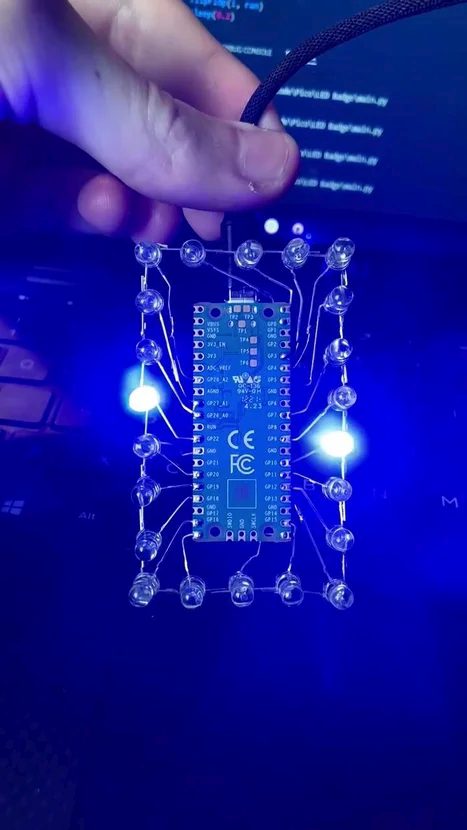
Step 9: Go on and Create!
This is barely scratching the surface on what you can do with a Pico, and now it's time for you to dive into that and see what you can create!
Source: Raspberry Pi Pico LED Badge