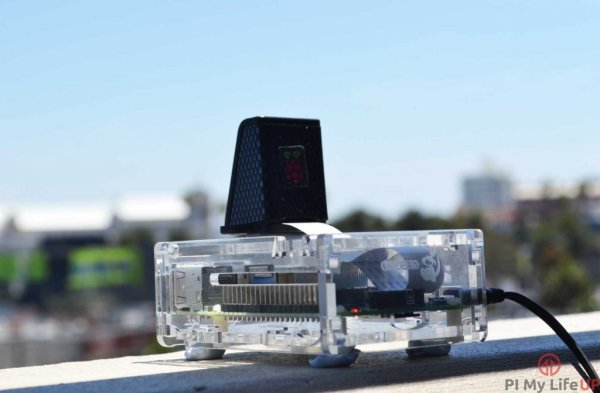
In this guide I will take you through from start to finish on how to set up your very own Raspberry Pi Time Lapse setup.
We make use of the Raspberry Pi camera in this guide. I will take you through everything you need to know to get it all setup and ready to go.
Equipment
The equipment you will need in this tutorial are listed below.
SD Card (8 GB+ Recommended) or Micro SD Card if you’re using a Raspberry Pi B+, 2 or 3
Installing the Camera
Probably the most important step is connect the Raspberry Pi camera correctly to your Pi. It is pretty straight forward but for anyone new to this kind of stuff will find this section helpful.
Hardware
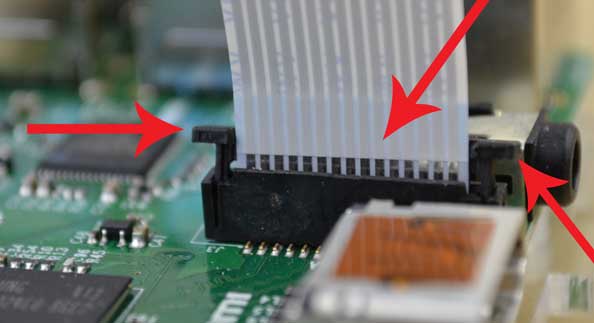
To install the camera you will need to go to the ribbon cable attachment and press gently with two fingers on either side of the connector and pull up. This will open the attachment, now insert the cable with the metal leads facing away from Ethernet port. Once lined up and in gently press the connector back down and the cable will now be locked in place.
Software
In order to start this Raspberry Pi Time Lapse project you will need a copy of Raspbian installed. If you had followed my guide on installing NOOBS you would have turned on the Raspberry Pi camera functionality.
If you haven’t then you can turn it on by going into the terminal and writing the following line.
For more detail: Raspberry Pi Time Lapse In Four Dead Easy Steps


