
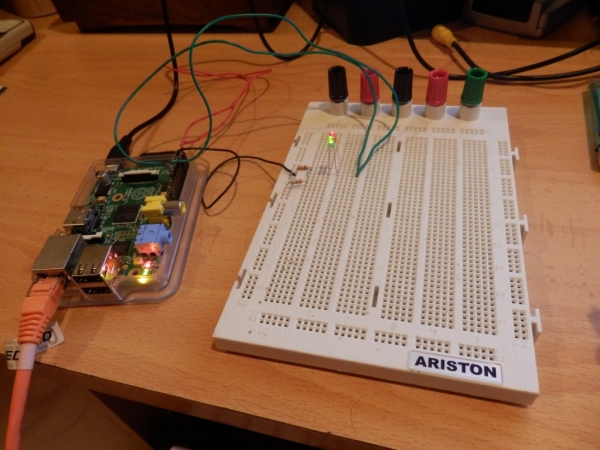
Raspberry PI and GPIO pin: Controlling an LED with Bash and Python
To this effect a LED, resistor 330 ohmnios, Wire, and protoboard, or tin and a soldering. Also need our Raspberry tenga yes Raspbian preinstalled, if not your case, you can see how to do it in the following link directory. Mounting the circuit You can solder directly LED the wire and resistance as you will […]
Raspberry PI and GPIO pin: Controlling an LED with Bash and Python Read More »