RASPBERRY PI AND THE STORY OF SD CARD CORRUPTION
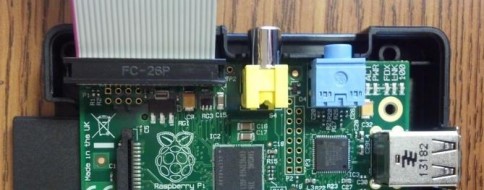
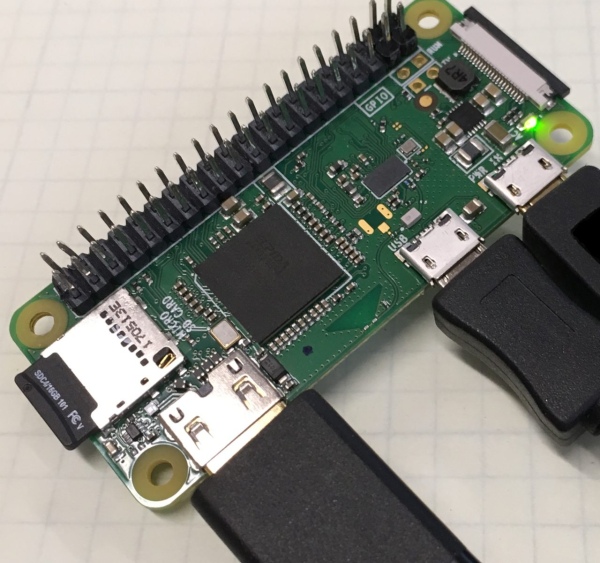
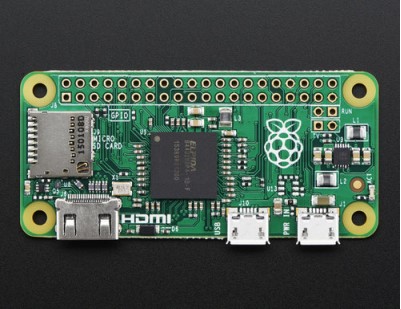
Tales of Raspberry Pi SD card corruption are available online by the fistful, and are definitely a constant in Pi-adjacent communities. It’s apparent that some kind of problems tend to arise when a Raspberry Pi meets an SD card – which sounds quite ironic, since an SD card is the official and recommended way of […]
RASPBERRY PI AND THE STORY OF SD CARD CORRUPTION Read More »