
After finishing my first entry for this competition where I almost missed the deadline.. I realised I had another whole month as the deadline was pushed back. So what better way to continue my learning than to build something for the other category using the Alexa Voice Service!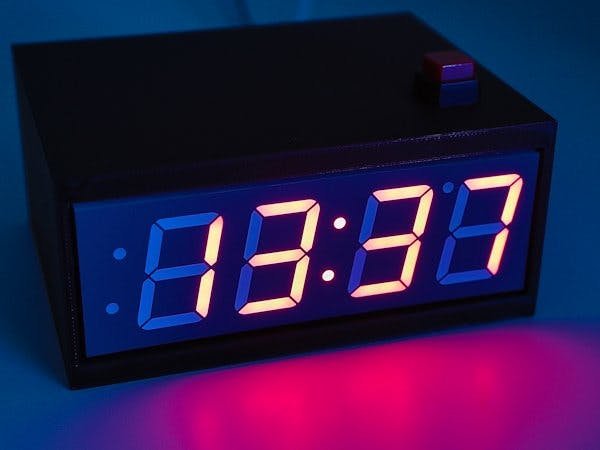
Trying to wrack my brain for ideas.. I was inspired by the header image and decided to build my own time machine!
OK so I'm not Doc and I didn't require any flux capacitors, but a soldering iron and 7 panel displays were involved. I decided to make an Alexa enabled alarm clock!
Construction
As usual I had my Raspberry Pi 3 with WiFi goodness, I added a display using an Adafruit 1.2″ 7 panel (banana for scale).
I followed the instructions provided by adafruit which required a bit of soldering:
We're in business! wow this thing is BRIGHT! I wonder if I can change that..
As the Alexa sample app we're going to use doesn't allow voice activation, I'm going to hardwire a switch. I have a simple push button purchased from here that I've wired up to a GPIO pin and a 3v pin which will be used to activate Alexa (more on that later).
Driving the 7 Panel Display
First up, my warning to you is that I'm not a great programmer, so go easy on my terrible code 😉
I grabbed the Adafruit library here on github and got to work making a clock. It's fairly simple, use python to get the time, format it and write them to the display all while blinking the colon. I had to add some try blocks because I occasionally get write errors to the display, but they never affected the overall functionality of the clock.
Woohoo! it looks good. What else can I get this to do? hmm.. lets try the temperature! I found an awesome API at openweathermap.org where I can get some current weather data. Sign up for an API key, find my local weather ID and map the digits against the predefined hex values for the numbers and letters.
Alexa
The only thing missing from this Alexa alarm clock is.. Alexa! I began by using the Amazon Alexa AVS Raspberry Pi Project. The tutorial provided there is excellent so I won't go into how I installed it as anyone is free to follow those instructions. I did however make a few modifications that I will outline.
Firstly I had to get the push button I mentioned earlier working. Full credit to Eddie Hartman who figured out how to add this to the Amazon project. He adds some simple gpio code which calls the actionButton.doclick(), and it works perfectly:
GpioUtil.enableNonPrivilegedAccess();
final GpioController gpio = GpioFactory.getInstance();
final GpioPinDigitalInput myButton = gpio.provisionDigitalInputPin(RaspiPin.GPIO_02, PinPullResistance.PULL_DOWN);
myButton.addListener(new GpioPinListenerDigital() {
public void handleGpioPinDigitalStateChangeEvent(GpioPinDigitalStateChangeEvent event){
    actionButton.doClick();
}
});
Be sure to check out the link to his project above if you want to implement the push button switch. It's pretty straight forward.
Next, I needed Alexa loading on boot, as I can't really VNC into the clock every time I plug it in. I wrote a script (which also loads my clock on boot):
This runs everything in a screen session as root, which is great for debugging. You can login, sudo su and screen -dr to find out what's going on. I plan to move this into a systemd file soon to clean up the process to solve an issue which is….: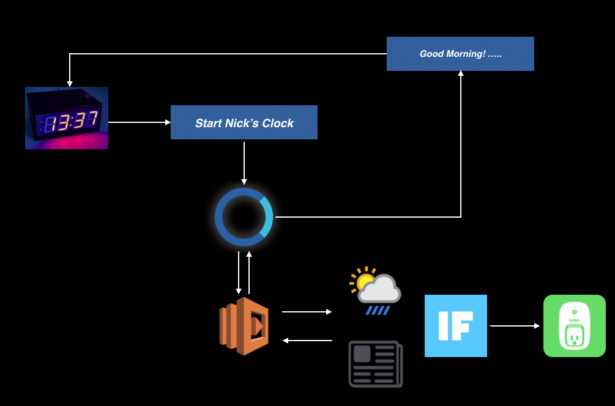
Authenticating your Alexa AVS Raspberry Pi device. This was a huge issue I took a long time to overcome because the way the project is configured by default:
- You load the companion app (which takes care of authenticating with the Alexa Voice Service)
- You load the java sample application
- You are presented with a URL you must visit from the browser on the raspberry pi to authenticate your device
- You can now use the Alexa Voice Service
For more detail: Time Machine