
In this article, I will demonstrate the process of setting up a Raspberry Pi for computer vision.
The Raspberry Pi is a line of inexpensive single-board computers, known for their compact size comparable to a credit card. Since its initial release in 2012, it has gained immense popularity among hobbyists and makers worldwide. In fact, Raspberry Pi was awarded the Innovation of the Year by T3 magazine in the same year.
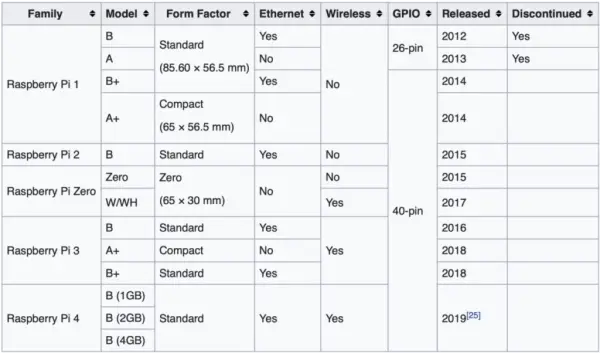
According to The Inquirer, approximately 30 million Raspberry Pis were sold by the end of 2019, highlighting its widespread adoption. Over the span of eight years, numerous iterations and enhancements have been made to the Raspberry Pi. The following table presents a list of the different models that have been launched.
Projects Using Raspberry Pi
Below is a compilation of intriguing projects that leverage Raspberry Pi, providing you with inspiration and insight into its diverse applications:
1. Home Automation
2. Simple Object and Motion Detection
3. DashCam Creation
4. Media Streaming Server Setup
5. WhatsApp Surveillance Video Camera with IR Proximity Sensors
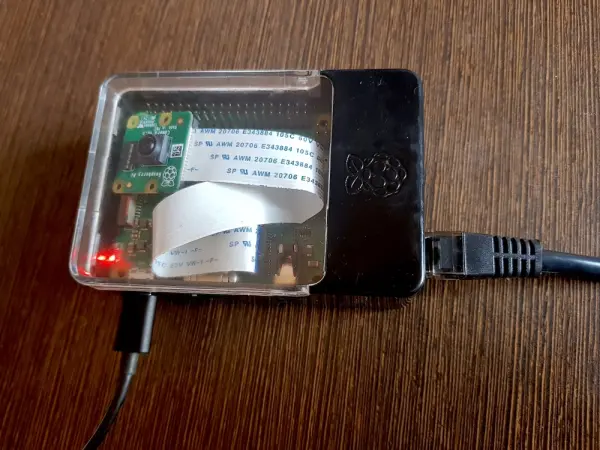
In this article, my aim is to guide you through the process of setting up your Raspberry Pi 3B+ model, enabling you to embark on your own project endeavors.
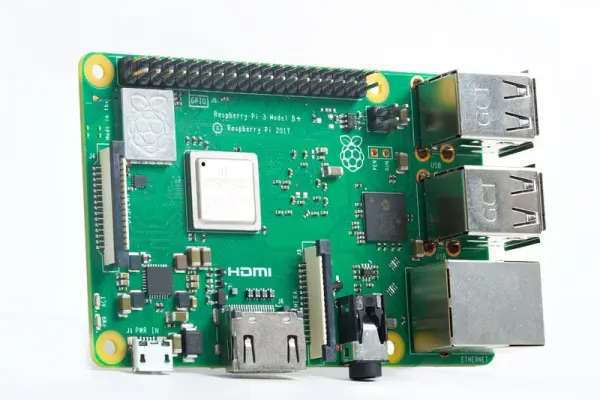
Raspberry Pi 3B+ Specifications
The Raspberry Pi 3B+ represents the final iteration of the Raspberry Pi 3 series.
Specifications of the Raspberry Pi 3B+ include:
– Processor: Broadcom BCM2837B0, Cortex-A53 64-bit SoC clocked at 1.4GHz.
– Memory: 1GB LPDDR2 SDRAM.
– Networking: USB 2.0-based Gigabit Ethernet with a maximum throughput of 300 Mbps. It also supports IEEE 802.11.b/g/n/ac wireless LAN on both 2.4GHz and 5GHz frequencies.
– Bluetooth: Version 4.2, incorporating Bluetooth Low Energy (BLE) capabilities.
– GPU: Equipped with Broadcom Videocore-IV for graphics processing.
– Storage: Utilizes a Micro-SD card for storage.
– GPIO: Features a 40-pin GPIO header, already populated.
– Ports: Includes HDMI, 3.5mm analogue audio-video jack, 4 USB 2.0 ports, Ethernet, Camera Serial Interface (CSI), and Display Serial Interface (DSI).
– Dimensions: Measures 82mm x 56mm x 19.5mm and weighs 50g.
– Operating temperature: Suitable for use in environments ranging from 0°C to 50°C.
– Production Lifetime: Expected to remain in production until at least January 2023.
Things You Will Need:
Raspberry Pi 3B+ requires the following components:
1. SD card
2. SD card reader
3. Ethernet cable
Operating System You Will Need to Download:
Software that You Will Need to Download:
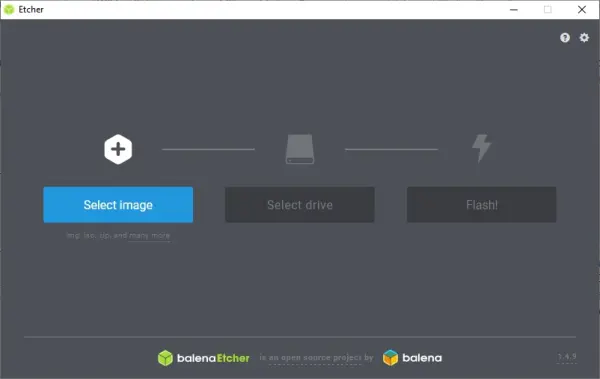
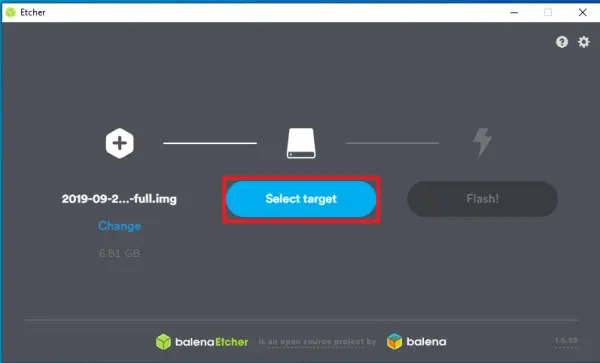
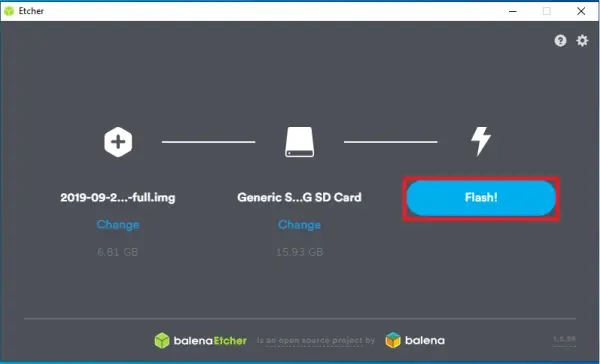
1. Etcher: Etcher is a freely available and open-source tool utilized for the purpose of writing image files, such as .iso and .img formats, onto storage media like SD cards and USB flash drives. Its primary function is to create live SD cards and USB flash drives.

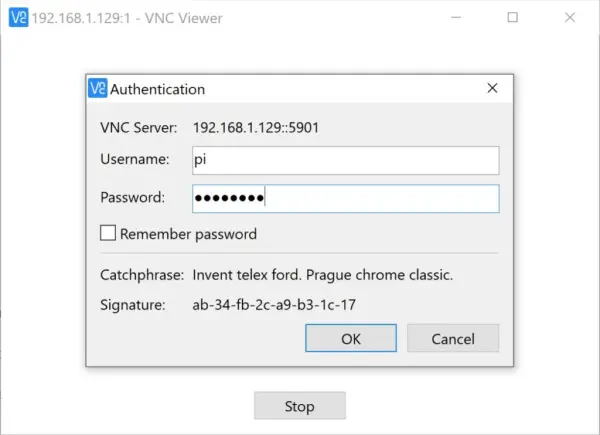
2. VNC Viewer: VNC Viewer is a software application that enables remote access and control of a device that has a VNC server enabled. It allows users to interact with and operate the target device from a remote location.
Steps to Set Up Your Raspberry Pi for Computer Vision:
1. Place the SD card into your PC or laptop using the SD card reader.
2. Format the SD card.
3. Utilize the Etcher software to write the Raspbian Buster image file onto the SD card.

4. Establish a wireless connection for your Raspberry Pi through remote access, enabling you to access it without the need for a physical Ethernet cable connection to your PC.

5. Safely remove the SD card from your PC/laptop, insert it into the Raspberry Pi, and power on the Raspberry Pi by connecting it to a power source.
6. Establish a connection between the Raspberry Pi and your PC/laptop by using an Ethernet cable.
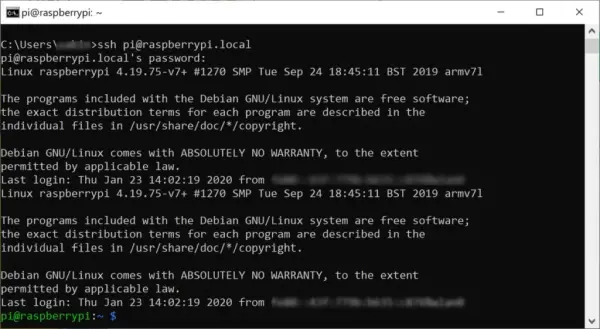
7. Access the Raspberry Pi from your PC by utilizing SSH through the terminal. Enter the following command:
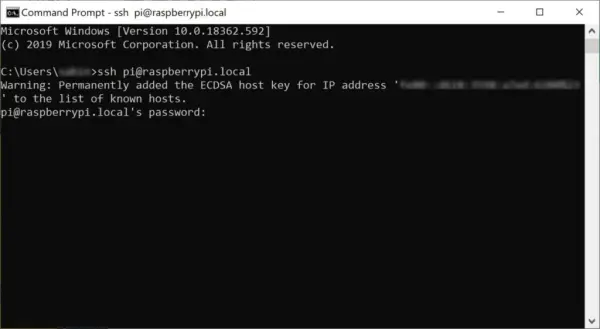
8. A password prompt will appear. Enter the default password (raspberry).
9. To activate VNC server on the Raspberry Pi, execute the following command:

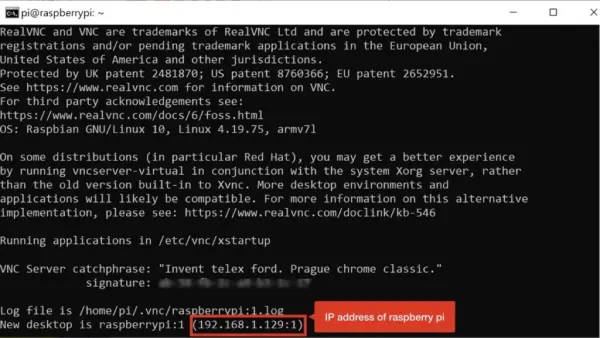
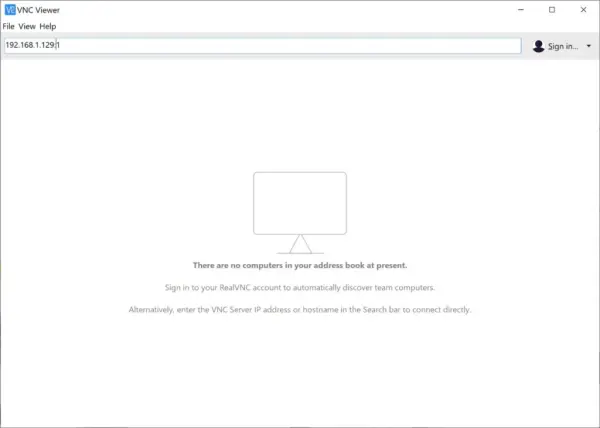
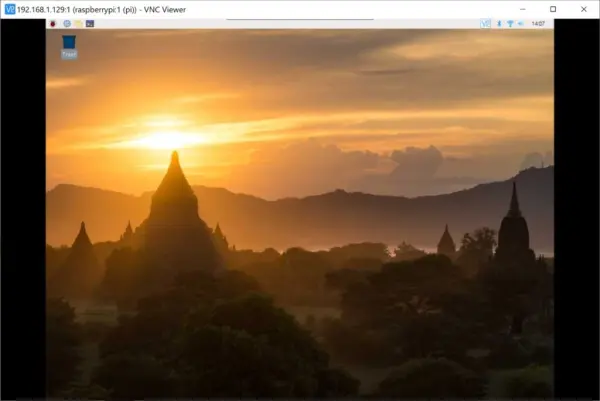
10. Launch VNC Viewer on your PC and input the IP address of the Raspberry Pi to establish a remote connection.
11. Through remote access, establish a wireless connection for your Raspberry Pi, allowing you to access it without the need for a direct Ethernet cable connection to your PC.
Congratulations! You have successfully configured a Raspberry Pi 3B+ for computer vision, and it is now ready for use.
If you are interested in implementing real-time face detection on a Raspberry Pi, you may find this post helpful. Additionally, you can explore this post for implementing real-time face tracking.