7 segment led using raspberry pi and Windows 10 IoT (Csharp code)
Story
Finaly I received my Raspberry PI 2, just in time to make some tests with Windows 10 IoT (Internet of Things).
Microsoft released Windows 10 IoT that can be installed in Raspberry PI 2 and allow us to develop in CSharp (for example) with full access to sensors and devices.
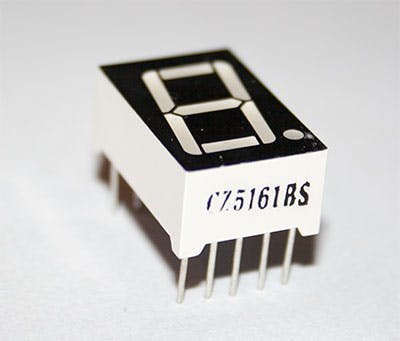
This post is just to show how easy it is to program in CSharp a simple class to access a 7 Segment led using Raspberry.
I developed a couple of years ago a library for accessing 7 Segment leds in arduino. Now in a few minutes, I migrated the library to CSharp and used it in Raspberry.
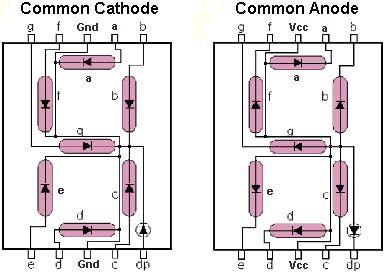
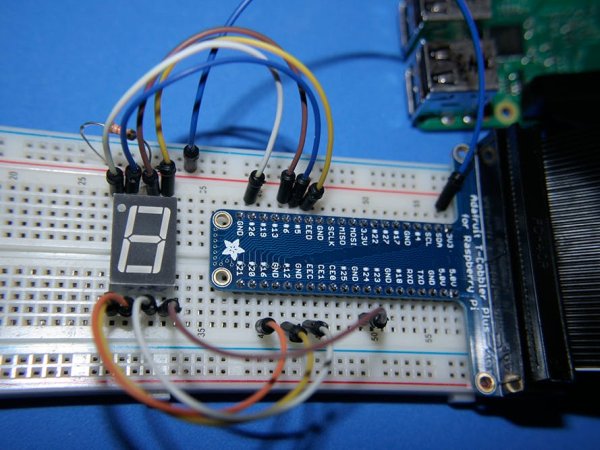
OBS: This wiring is for Common Anode Led
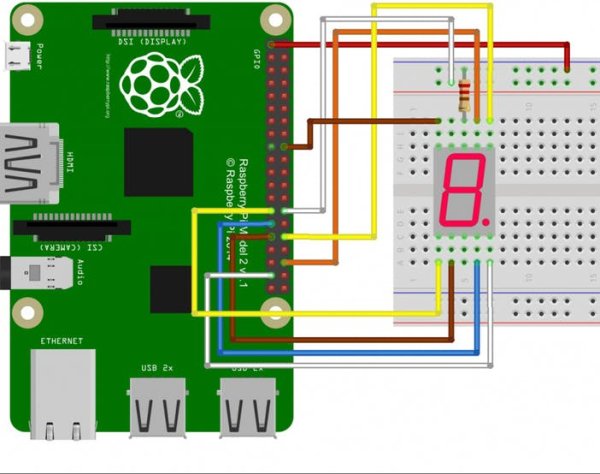
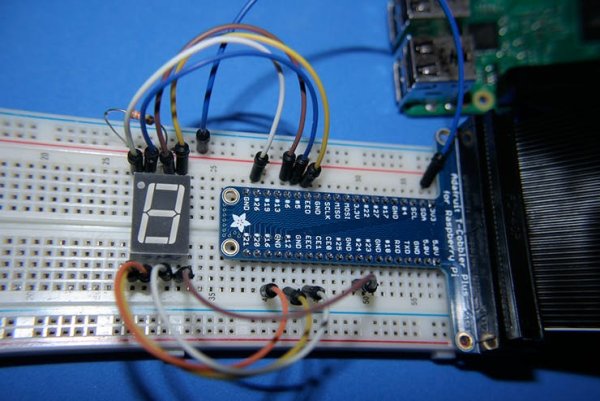
First this image show how I have wired the 7 Segment led to the Raspberry PI:
Wiring (Common Anode Led)
- Pin #01 (3.3v) -> Vcc
- GPIO 16 (Pin #23) -> a
- GPIO 12 (Pin #25) -> b
- GPIO 5 (Pin #15) -> c
- GPIO 6 (Pin #16) -> d
- GPIO 0 (Pin #14) -> e
- GPIO 1 (Pin #27) -> f
- GPIO 24 (Pin #32) -> g
- GPIO 26 (Pin #19) -> dp
In visual studio 2015 I created a Windows IoT core (Background Application). Now just added the class that handles 7 segment communication and used the methods in main class
The class is very simple, just create it passing all pin numbers and if it is a common anode or common catode. Later, at any time change the value of property CurrentValue and the number in the display will change accordingly.
Ex.: LM7SegDirect lm7Seg = new LM7SegDirect(16, 12, 5, 6, 0, 1, 24, 26, true);
Below I show the entire StartupTask showing how to create the object.
You can dowload the class in GitHub (or below in this page) and the a full sample project here LM7Seg
Source: Connect a 7 segment LED to a Raspberry Pi 2 with Windows 10


