
Story
At thethings.iO we want to show you different ways of using our platform for your projects and products! For this reason, we have developed a prototype using a Raspberry Pi and our REST API to monitor the access to a room.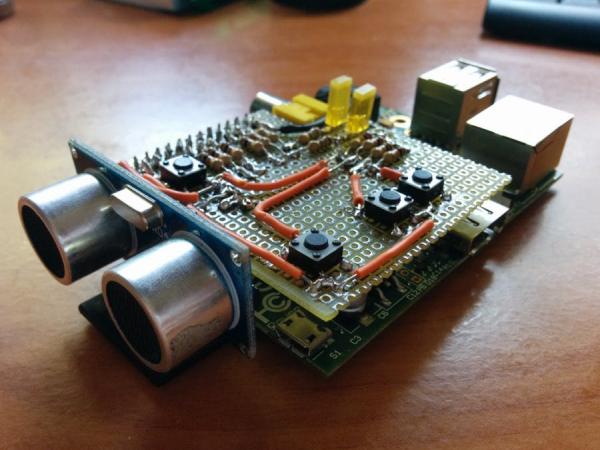
The device, that should be embedded next to the door as you will see on the next pictures, uses an ultrasonic sensor to publish the distance to the closest wall (if any) every 10 seconds. When the door is opened by someone, the measured distance is shortened due the blocking door. The device will automatically report the incident to the thethings.iO cloud but it will allow the user to manually enter an access code to specify that the access was allowed.
Just for having fun, the sensor’s distance is continuously sent so we can visualize its fluctuations in real time at thethings.iO panel. It’s easily distinguished on the following graph when someone has entered, don’t you think?
In addition, the device has four buttons, two for entering a code, one to shut it down and the last one to memorize the “normal distance” i.e. the device’s distance to the closest obstacle when the door is shut. To perform the last two actions, entering a password is required.
Also, two LEDs show some feedback to the user. When the leds blink, they show that the device is memorizing a new distance. When both leds are on, a password can be entered.
Getting into the code!
To write a value to thethings.iO you first need to get a token that identifies your “thing” and allows it to use the cloud. To get a token you need a thethings.iO account (you get three tokens with a free account). Once you have the account, you need to activate the token, which can be done from the same thethings.iO website and just requires you to press a button. You can find detailed instructions here.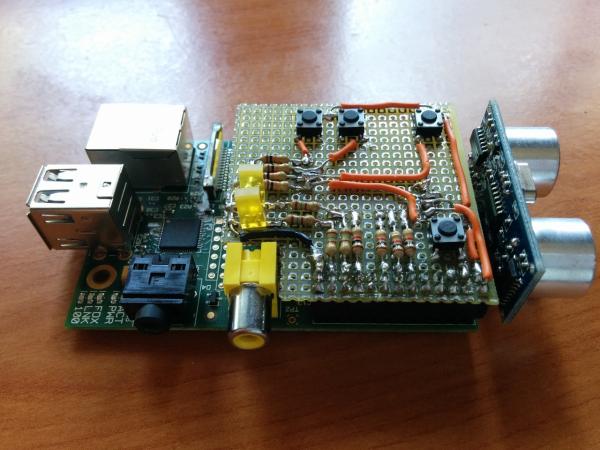
In this project, the activated token should be hard-written into the code, specifically inside the variable “token” of the file ttrest.py. From now on, writing to the cloud is as easy as calling the function ttwrite where the first parameter is the name of the variable that we want to write to and the second parameter is the actual value.
d = tt.get_distance() #retrieve distance from ultrasonic sensor
ttrest.ttwrite('Distance', str(d)) # write data to thethings.iO
Your turn!
Do you like it? Why don’t you try to do your own project with the thethings.iO service? It’s free for the first three devices! 😉
For more detail: Connecting a Door with Raspberry Pi and thethings.iO