Using Rasberry Pi 2, Azure, and Voice Assistance (Windows and Android) observe how your home not only gets automated, but also self aware.

OVERVIEW:
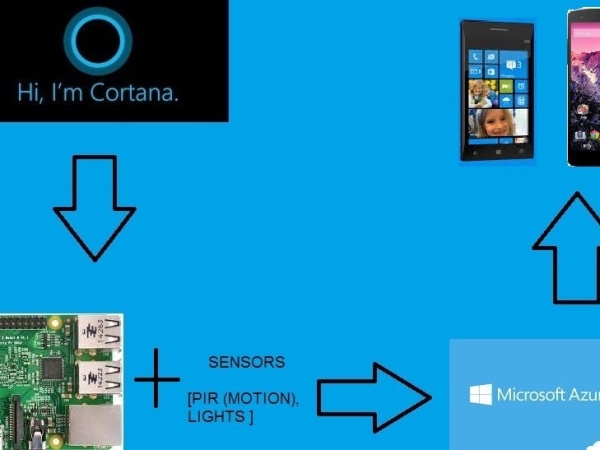
We all know how Home Automation has been integrated into our day to day lives – from controlling window panes to making a secure house free from theft. I plan on going even a step forward by integrating simple sensors that I have lying around in my house and make a secure system that not only detects any activity inside the house but also informs the person of impending fire hazards and thefts. All of this will be sensed via the Raspberry Pi 2 and and sent to the user via a mobile app implementing Microsoft Azure services.
I. SETTING UP VS2015
(I'm assuming you've already installed Visual Studio 2015 Community or Professional, if not just download it from here – http://go.microsoft.com/fwlink/?LinkID=534599)
i) Search for Windows IoT Core Project Templates directly from Visual Studio in the Extension and Updates dialog (Tools > Extensions and Updates > Online).
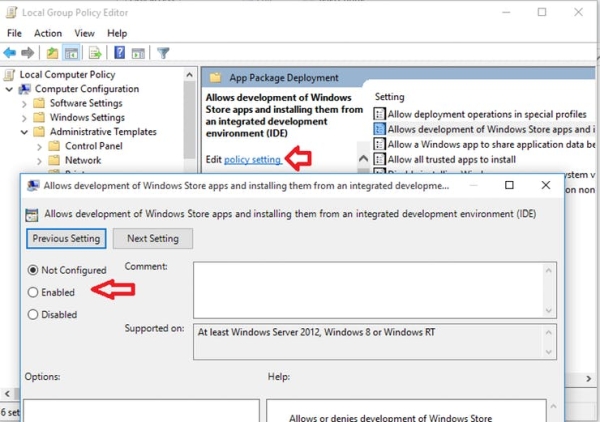
ii) Make sure you’ve enabled developer mode on your mobile and desktop.

NOTE: If you're using pre-existing Visual Studio version, then do a Custom install and select the checkbox Universal Windows App Development Tools -> Tools and Windows SDK.
———————————————————————–
II. RASPBERRY PI 2 - HARDWARE SETUP
STEP 1:
Setting up Windows 10 IoT Core.
i. Download the ISO for the Raspberry Pi 2 from the Microsoft Download Center.
ii. Save the ISO to a local folder.
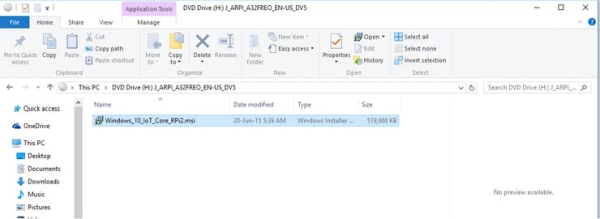
iii. Double click on the ISO (IoT Core RPi.iso).
iv. Install Windows_10_IoT_Core.msi.
v. When installation is complete, flash.ffu will be located at C:\Program Files (x86)\Microsoft IoT\FFU\RaspberryPi2.
vi. Unmount the local drive.

1. Insert Memory Card into Memory Card Reader
2. Use IoTCoreImageHelper.exe to flash the SD card. Search for “WindowsIoT” from start menu and select the shortcut “WindowsIoTImageHelper”
3. The tool will enumerate devices. Select the SD card you want to flash and then provide the location of the ffu and flash the image.
4. Click on the Safely Remove Hardware icon in your task tray and select your USB SD card reader to safely remove it from the system. Failing to do this can cause corruption of the image.
Source: Full Home Automation System with Azure and Voice Assistance

