
Traditional wireless CCTV cameras are cheap but anyone with a wireless receiver can view your signal. On the other hand, IP cameras are secure but they can be quite expensive and usually the video quality is poor — unless you go for a really expensive model.
Lately I wanted to install a home surveillance system so I chose to use a cheap Logitech webcam with Raspberry Pi and motion, an excellent linux program that monitors video signal for changes and triggers events.
Here’s what you can achieve with a similar setup:
- Setup RaspPi as a 24/7 Web cam server and stream your video over the internet. You can also view your signal remotely, using any mobile device equipped with a browser.
- Setup motion detection and trigger any events you like, such as store images when motion is detected, upload the images to a remote FTP server, send a notification to your computer, receive an SMS — basically run any script you like!
Necessary hardware:
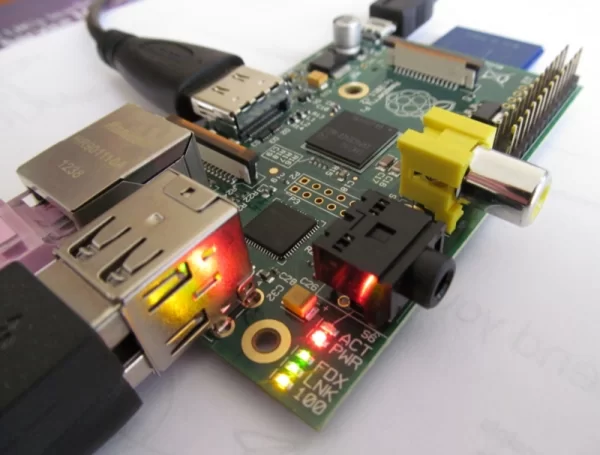
- Raspberry Pi Model B Revision 2.0 (512MB)
- Logitech HD Webcam C270 or a similarly compatible usb webcam (list of compatible webcams here).
- A usb hub with an external power supply
- (optional): a usb extension cable
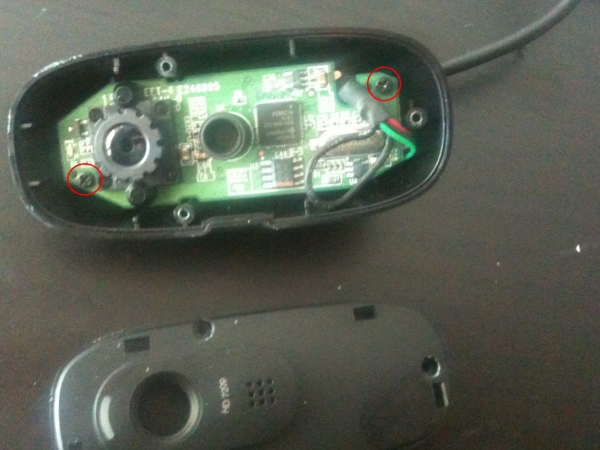
Step #1: Make your webcam stealth
I wanted to hide the camera in an inconspicuous place outside my door, so I removed the webcam’s casing. The Logitech C270 is a really good choice for this project as (1) it is 100% compatible with pi, (2) it has a really good 720p HD resolution and (3) it is very very small.
You can now connect your webcam to the usb hub. You have to use an external usb hub with an independent power supply as the raspberry pi cannot power the webcam by itself.
(just to clarify: as you can see my door is crap! In the case of a burglary it will fall with the lightest blow. I’m better off replacing the actual lock with a smart security device)
Step #2: Setup your raspberry pi
Your pi needs to boot a linux operating system in order to run motion. The most popular choice is Raspbian, a debian-based OS that is optimized for pi’s hardware.
To prepare your SD card and install Raspbian I recommend following Adafruit’s excellent tutorials here.
Since you are not going to have your pi connected to a monitor or have a keyboard and mouse, I also recommend enabling Secure Shell (SSH) in your pi so that you can remote control your Raspberry Pi over your local network.
Finally, it is a good thing to force a static IP address so that you can easily find the webcam server even if pi restarts.
To do this, first type from the command prompt:
ifconfig
 This reveals your router information. If you have an ethernet connection check out the eth0 bit. If you have a wireless connection check out the wlan0 bit. Make a note of the following info:
inet addr – 192.168.1.5 (pi’s IP Address)
Bcast – 192.168.1.255 (broadcast IP range)
Mask – 255.255.255.0 (subnet mask)
then run:
route -n
and note the following:
Gateway Address – 192.168.1.1
then run the following command to edit the network configuration:
sudo nano /etc/network/interfaces
and change the following entry from:
iface wlan0 inet dhcp
to:
iface wlan0 inet static
address 192.168.1.5
netmask 255.255.255.0
gateway 192.168.1.1
network 192.168.1.0
broadcast 192.168.1.255
Press CTRL and X together to save and exit nano editor.
If you reboot your pi now you should have a static address.
For more detail: How to make a DIY home alarm system with a raspberry pi and a webcam