
When I got my Raspberry I've decided to develop an algorithm of real time lane and vehicle detection.
I got it done.
Now it's time to put the Raspberry Pi on my car's dashboard.
However, I would not like to leave it fixed on the dashboard forever.
I had a few lego bricks left over so decided to use them.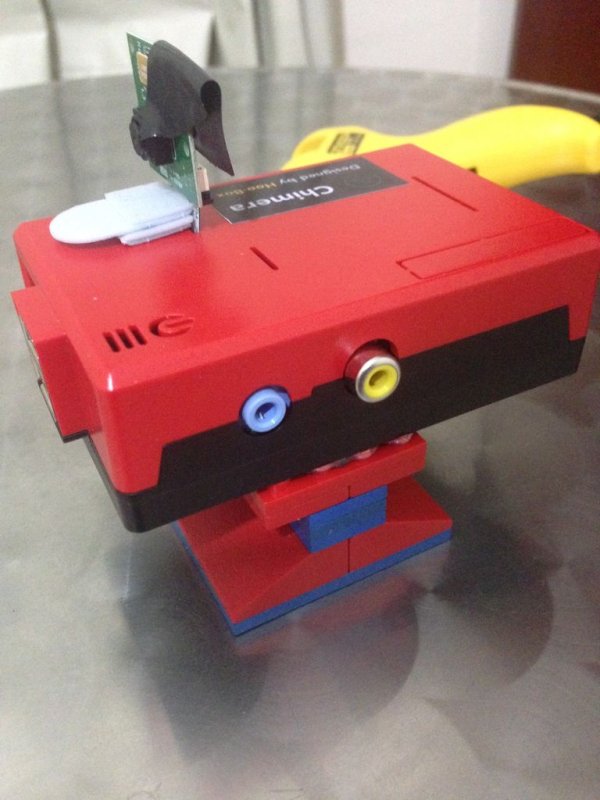
Instead of trying to describe each step I just took pictures of the car holder for Raspberry Pi. For sure it's an easy project to put together.
I just want to highlight some important points:
1) Make sure there is an air ventilation space below raspberry.
2) Make sure the stand has enough space to fit your fingers to remove the raspberry pi properly without forcing the double-sided tape.
Step 1: Setting the faceplate on the Raspberry
Make sure there is an air ventilation space below Raspberry and enough area for a good fixation.
This part will be fixed. You can use a glue gun to put the pieces together.
Step 2: Making the stand car holder
Make sure the stand has enough space to fit your fingers to remove the raspberry pi properly without forcing the double-sided tape. You could also use a swivel!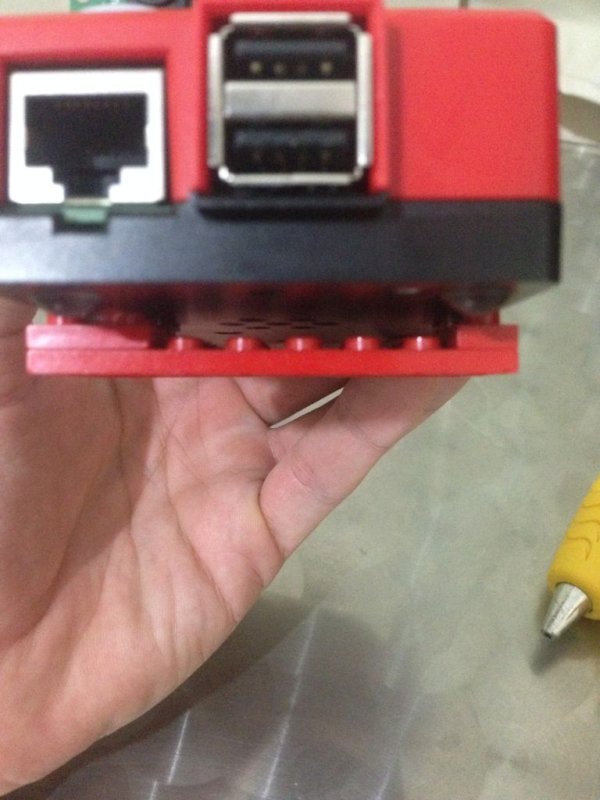
Step 3: Mounting.
Done.
If you do this holder, please let me know! I'd love to see the pictures and hear about your modifications and experience.