Today I am going to show you how to setup your Raspberry P (Model B or A (With Ethernet adapter) as an Airplay receiver. It is very simple to do and will not take much time at all.
Step 1: Materials
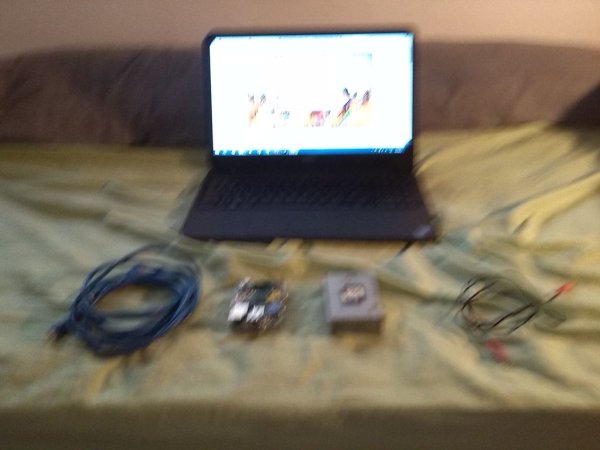
(Sorry for the bad picture quality, it gets better) To get the receiver set up, you will need these materials:
Raspberry Pi (With Ethernet)
Ethernet Cable and Router
SD Card (Min. 4GB)
3.5mm to 3.5mm Audio Cable
Computer running Win32 Disk Imager or Apple-Pi Baker
A Speaker or Stereo System
An Internet Connection
Step 2: Install Volumio
Plug your SD Card into your computer or card reader, then go to http://volumio.org/get-started/, and download Volumio for the Raspberry Pi.
Step 3: Install Volumio
Once downloaded, un-zip the file and open Win32 Disk Imager, or similar program. Then, select the SD card and click “Write”. After that has completed, eject the SD card and put it into the Raspberry Pi.
Step 4: Finishing
Connect the Ethernet cable into the R-Pi and into your router. Connect the audio cable into a speaker/Hi-Fi system, then connect the R-Pi to a power source. Wait about 2 minutes, then, try streaming audio to it, but selecting “Volumio” or similar in the Airplay device selection list. To edit the settings of the R-Pi, go to volumio.local in your browser. Enjoy!
For more detail: Raspberry Pi: Airplay Reciever


