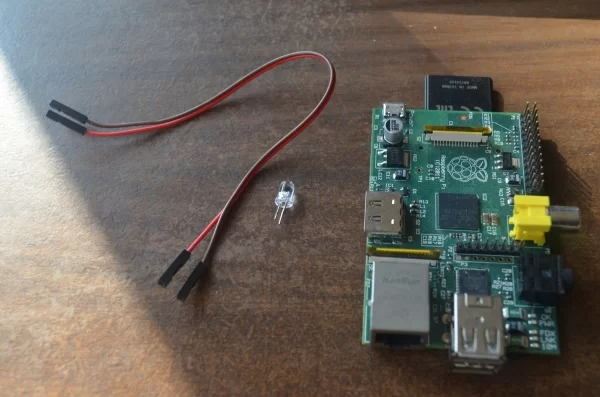
In this tutorial I will show you how to flash a LED light with Raspberry Pi and Java. This will be a complete step by step tutorial starting with connecting the cables, trough GPIO explanation and finally writing the java code. At the end of this tutorial I will show you how to write a complete java program using the LED light connected to the Raspberry.
Requirements
Raspberry Pi board with Raspbian OS (learn how to install and configure Raspbian)
1 x LED light
2 x female to female jumper cable wires (you can buy 40 pcs of them online for less than 2$)
Raspberry Pi GPIO
According to the model the Raspberry Pi provides a different numbers of GPIO (general purpose input/output) pins along the edge of the board, next to the yellow video out socket.
These pins are a physical interface between the Pi and the outside world. Each pin can turn on or off,or go HIGH or LOW in computing terms. When the pin is HIGH it outputs 3.3 volts (3v3); when the pin is LOW it is off. 17 of the 26 pins (for model A and B) are GPIO pins; the others are power or ground pins. Model A+ and B+ have 40 pins and 26 of them are GPIO pins. This tutorial will work for all Raspberry Pi models.
Assembling
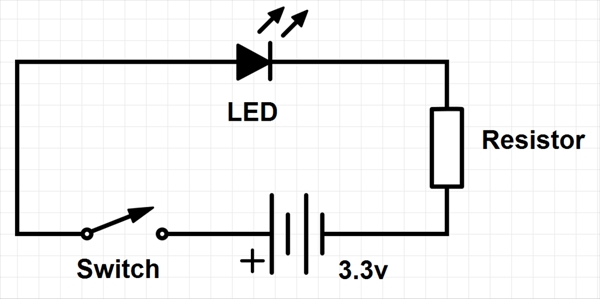
Look at the diagram below. We will connect the LED cathode (-) to Raspberry Pi pin #6 and the anode (+) to pin #12 using the jumper wires
First connect the cables to the LED. I connected a red cable to the anode and a brown one to the cathode. You may use whatever colors you like.
For more detail: Raspberry Pi Java Tutorial


