
This project makes use of a raspberry pi, to read the temperature of several radio sensors, and store them on a Sqlite database.
The same raspberry pi is used to serve webpages with the graph of the acquired temperatures.
See live demo here.
Step 1: Install hardware on the Pi
The first thing to do is to install the radio receiver (Ciseco Slice of Radio) on the Raspberry Pi.
See the Photos.
Step 2: Confirm that you have the Pi configured correctly to free the serial port
Next, confirm that you have the Pi configured correctly to free the serial port, so that your monitoring software will be abble to use it. To do so, follow the instructions on Ciseco website here.
You only have to follow the instructions on “Access to the serial port”. “Installing and running Minicom” and “Setting up for remote access (SSH)” are optional, and the latter, you probably have already done by this time.
Minicom is a usefull terminal program that allows you to see the radio messages being received by the Pi, and allows you to send messages – usefull for debuging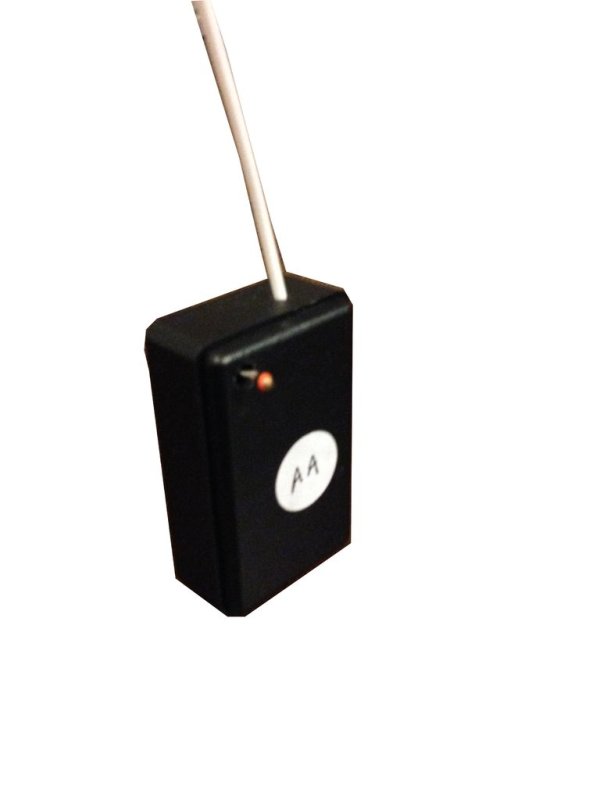
Step 3: Install monitoring software on the Pi
First you need to create the Database to store the temperature readings.
You will be using an Sqlite database, so you have first to install Sqlite:
a) ssh to your Pi. Example:> ssh [email protected]
b) Install sqlite> apt-get install sqlite3
c) Create the database. You can place it in your home folder, or on any other place where you have write access. I used /var/www. I provide a sql database definition schema.sql here.
Press the “Raw button” to download it; copy it to the Pi; and use it to create the database, like this:
> cd /var/www
> sqlite3 -init schema.sql templog.db
Check that two tables have been created, named sensors and temps:
sqlite> .tables
You should see:
sqlite> .tables
sensors temps
sqlite>
Now exit sqlite:
sqlite> .exit
You should have a file named templog.db with your database, in the directory where you issued the sqlite command.
Step 4: Install monitoring software on the Pi (continued)
Now you have to install the monitoring script written in Python (called monitor.py), that you can find here.
Copy it to your home folder on the Pi.
You can edit the line dbname='/var/www/templog.db' near the top of the file to adapt it to the place where you created your database.
You can also adapt the name of the serial port to use – normally not necessary – by changing the line
DEVICE = ‘/dev/ttyAMA0'.
And you can change the time interval between readings of the Weather Underground website, by changing the line SAMPLE = 10*60. Time to use here is in seconds, so the default period is 10 minutes.
Step 5: Install monitoring software on the Pi (continued)
Now, you need to install the Ciseco Sensors that you will be using, and you have to register yourself on Weather Underground site, to get a key to be able to access their API.
You do not need to register yourself on Weather Underground, unless you are interested in storing temperature readings from meteorological stations that exist in your region.
Register is free, but you can only query their website 500 times per day, and 10 times per minute… Should be enough…Register and you get a key (a 16 character hexadecimal sequence) that will be used later. After you have registered with Weather Undergroud, you can add locations of places that you want to periodically acquire the temperature, to our database.
You do that by adding a record to the sensors table of you database:
>sqlite3 templog.db
sqlite> insert into sensors(name,id,baudrate,porta,active) … values (“Porto (WU)”,”WA”, “pws:IPORTOPO4”, “yourAPIkeyhere”, 1);
Replace yourAPIkeyhere, by your Weather Undergound key.Verify that the record has been correctly inserted:
sqlite> select * from sensors;
And exit sqlite:
sqlite> .exit
Replace the “pws:IPORTOPO4” by the code of the weather station that you want to acquire. The example above acquires the temperature in Oporto city in Portugal.
You have to find the code of the Weather Station that is nearer to you. Start here.
Weather underground stations should always have an id of two letter, starting with W. Like “WA” on the example above. You can add several Weather Underground stations to the database, by repeating the steps above.
If you want to alter one of the locations that you inserted into the database you can type on a sqlite3 prompt, for example:
sqlite> UPDATE sensors SET active=0 where (id='WA');
The above command would disable the periodical acquisition of temperatures from the location with id WA on the database (the city of Oporto).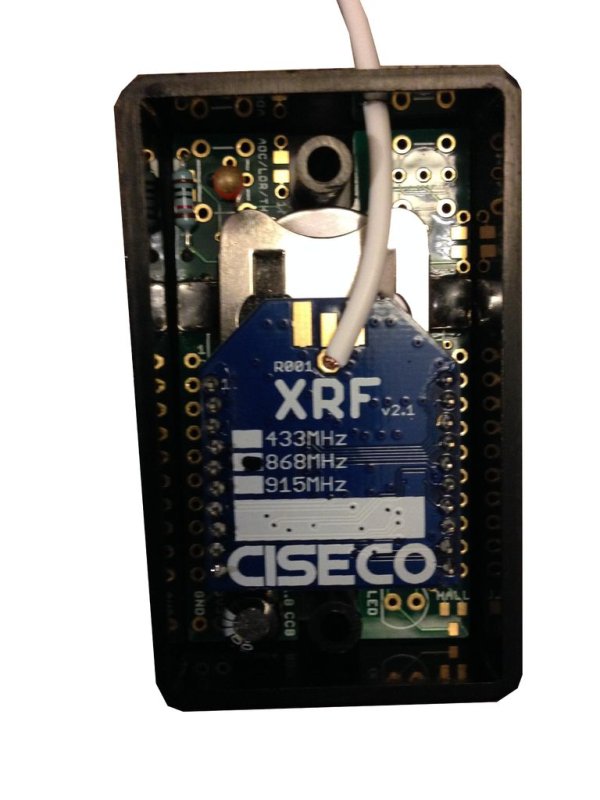
Step 6: Install monitoring software on the Pi (continued)
You are now ready to start your monitor script. You can either run it only once, to see if worked ok, or make it run forever in the background.
To run it once, just type ./monitor.py.
I am assuming that you have Python installed on your Pi, which is true by default on most installations. Type which python to check the path to your python interpreter, if it exists. If you need to install it, Google about how to do it.
monitoy.py should be executable. If it isn't, type chmod +x monitor.py.
To stop monitor.py from executing, press ctrl+C.
You should have acquired once the temperature of whichever locations you programmed in your database (Oporto, in the example above).
To check it, run sqlite, and query the temps table:
> sqlite3 templog.db
sqlite> select * from temps;
sqlite> .exit
For more deatil: Raspberry Pi Temperature Logger via Radio