| Hardware components: | ||||||
 |
|
× | 1 | |||
 |
|
× | 1 |
 |
|
× | 1 |
|
× | 1 | ||||
|
× | 1 | ||||
|
× | 1 | ||||
 |
|
× | 1 | |||
 |
|
× | 1 | |||
|
× | 2 | ||||
| Software apps and online services: | ||||||
 |
|
|||||
 |
|
|||||
| Hand tools and fabrication machines: | ||||||
|
||||||
 Story
Story
It is hard to get real time performance from the Raspberry Pi. It is important to have this when using the HC-SR04 (ultrasonic range finding sensor) as the pulse width determines the range. I figured I might try to create my own i2c slave device for the Raspberry PI to address this issue.
The actual solution was to offload the processing to a ten dollar Launch Pad from Texas Instruments that uses a 35 cent processor. This launchpad has a 16 bit cpu that only has 512 bytes of ram and 16 k bytes of program memory. If you are new to the Launch pad, it is cheap to get into, you don't need to buy any extra software or hardware (except for the Launch Pad itself). It is a great introduction to embedded programming. Obviously the code is included (see below).
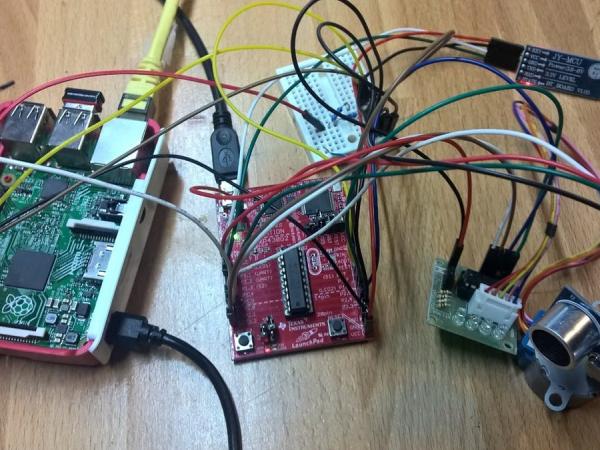
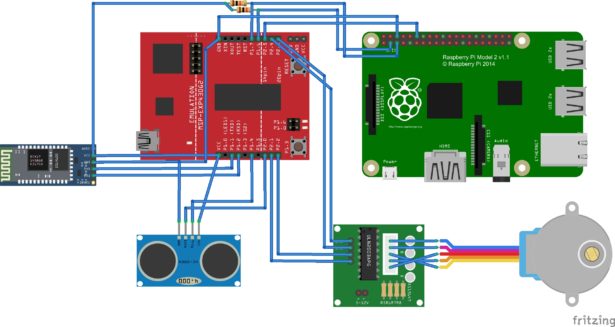
The Launch Pad runs a stepper motor to change the sensor's yaw, the ultrasonic sensor (off course) and a uart Bluetooth adapter that I used for debugging. The Bluetooth adapter is completely optional as it just spits out debug info. For that matter so is the stepper motor and driver.
The Raspberry PI interfaces to the Launchpad through i2c. The Launchpad acts as a slave.
By running the timer on the launchpad at 500 kHz, I was able to get really good stability. At ultrasonic distance of 245 mm, I got a standard deviation of 2.5 mm.
On the launch pad, I disconnected Jumpers J3-4, J3-5 and J5-2.
On a final note, even if you are not interested in this specific application, it provides an example framework on how you can create your own Raspberry PI peripheral and make (or loose) a zillion dollars selling it.
For more detail: Raspberry PI with Windows 10 made realtime with a launchpad


