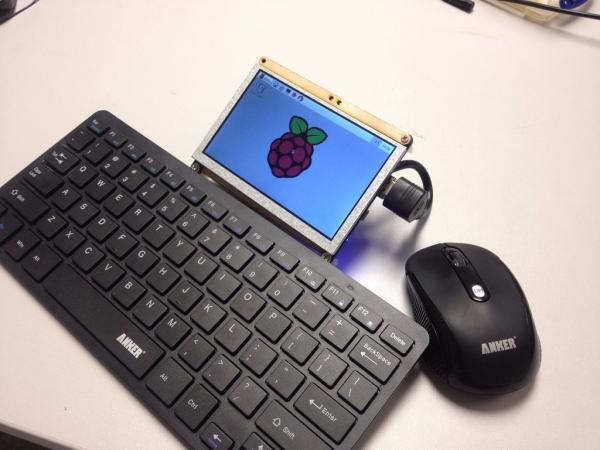
Portability would generally be the main challenge with projects such as this; it can be difficult to get power off grid. However, in my case this is one hurdle which I am able to easily overcome; as with all of my other projects I have been using the PiJuice as an integrated battery module, which is able to provide all of the features you would ordinarily find in your laptop's powering system.
There's some great examples out there of other similar projects. Namely, the Pi-Top and the LapPi. These are both really cool designs and formed much of the inspiration for this project. I wanted to make something similar, but ideally, simpler and more portable. So I came up with this design. Comprised of just 5 parts, it merely involves plugging in each component and a tiny bit of configuration. So let's get started.
Step 1: Parts
1 x PiJuice
1 x Raspberry Pi a+
1 x Wireless Keyboard and Mouse
1 x Short HDMI Cable
1 x Laser Cut parts, Spacers & Screws
Step 2: Assembly
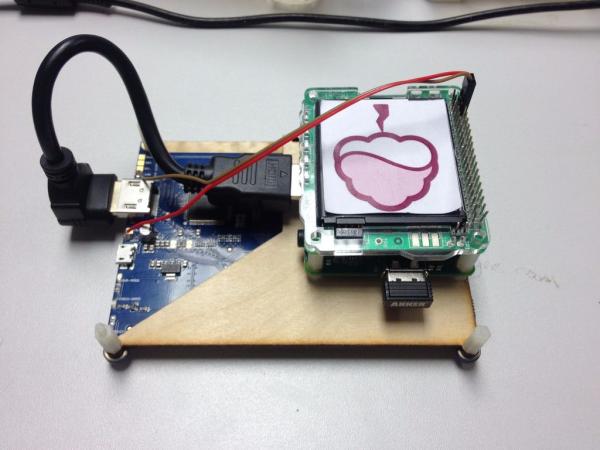
The first stage of this build is to put together the hardware. The laser cut parts and a guide of how to put them together are available for pre-order from the Kickstarter page. Alternatively, if you have access to a laser cutter or even a jigsaw cutter you could easily build your own.
After that you'll need to solder two wires onto the screen so that it can receive power from the PiJuice. Solder a red wire to the +5V pad and a brown or black wire to GND pad. Ideally these two wires would have a double female connector on the end.
For more detail: Raspberry Portable Pi Laptop


