Development Board – Kits Projects

X105 EXPANSION BOARD

X105 EXPANSION BOARD

KEY FEATURES Input Voltage – 6V to 23Vdc converted to 5V, 3A via step-down DC/DC converter to power the Raspberry Pi VGA output  – HDMI to VGA converter supporting up to UXGA (1600×1200) and 1080p with 10-bit DAC   RS232 serial communication – Control the Raspberry Pi over RS232 or connect to external serial accessoriesUSB Storage –

X105 EXPANSION BOARD Read More »

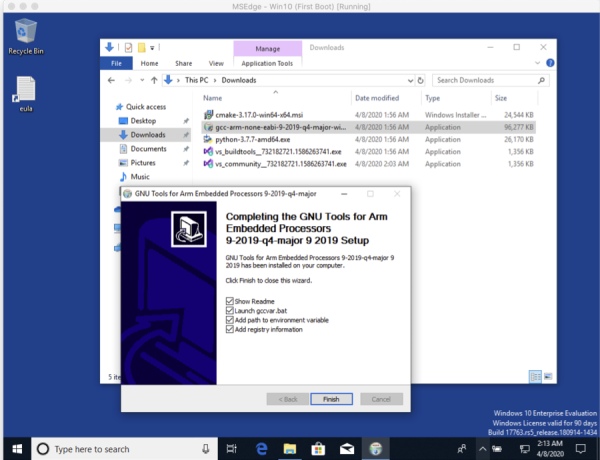
Third checkbox is checked adding path to environment variable

Setting up the Raspberry Pi Pico for C/C++ Development on Windows

Documentation Everything in this file originates from the comprehensive guide “Getting started with Raspberry Pi Pico for C/C++ development“. This document presents the same content, but reformatted into a user-friendly, numbered list for easier comprehension. Getting everything installed Install the ARM GCC compiler. Ensure proper installation by clicking the box to register the ARM compiler’s path

Setting up the Raspberry Pi Pico for C/C++ Development on Windows Read More »

Embark on Embedded System Development Raspberry Pi Beginners Toolkit

Embark on Embedded System Development: Raspberry Pi Beginner’s Toolkit

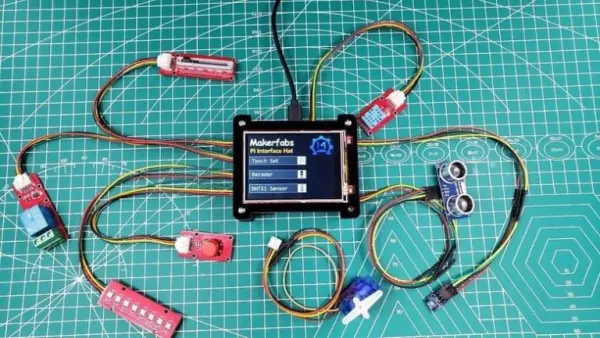
1. Introduction: Raspberry Pi Embedded System Development Kit The Raspberry Pi Embedded System Development Kit offers an ideal platform for both learning and utilizing Raspberry Pi capabilities. Built around the Raspberry Pi Zero, it features a 320*240 LCD with touch functionality for display purposes, along with an integrated chip for audio processing, playback, and recording.

Embark on Embedded System Development: Raspberry Pi Beginner’s Toolkit Read More »

Raspberry Pi model B

Raspberry Pi: An Affordable Learning Platform for Parallel Processing

1. INTRODUCTION In order to understand the benefits that the Raspberry Pi platform provides it is important to understand the challenges that students and educators currently face. Parallel computation is increasingly becoming a topic that is taught as part of Computer Science education because of changes in advancing technology. With this rapid change in technology,

Raspberry Pi: An Affordable Learning Platform for Parallel Processing Read More »

Board to Board Communication

Board-to-Board Communication

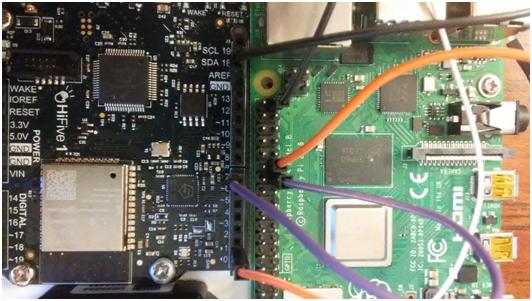
In this lab, you will establish UART based communication channels between the Pi 4 and the HiFive 1 boards. Part 0: Setup the UART connections (for TAs) In this part, we will connect the HiFive1 and the Raspberry Pi 4 boards via two UART channels. (Note that this step will be performed by the TAs.)

Board-to-Board Communication Read More »

Scroll to Top