
In this tutorial, I’ll walk you step by step through the process of installing an LCD touchscreen on the Raspberry Pi. Most LCD touchscreens for the Raspberry Pi ship with an OS image file that you can write to your SD card and get up and running pretty quickly. But what if you want to run a clean, updated version of Raspbian, without any bloatware included with the manufacturer’s image? Also, you might want to install a different OS such as Rasbmc or XBMC. In these cases, you should configure the touchscreen from scratch, as I’ll show you how to do in this tutorial. This process has been tested and works on the Raspberry Pi 2 Model B as well as older versions of the Raspberry Pi. Don’t worry, it’s not that hard!
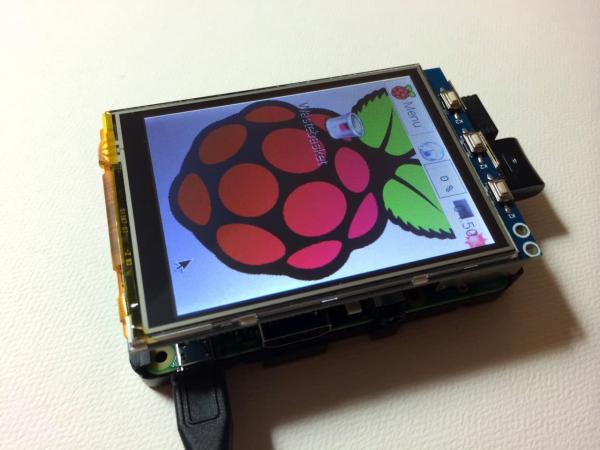
I’m using the Waveshare 3.2″ TFT LCD touchscreen with fresh install of Raspbian Jessie Full. Raspbian Jessie Lite won’t work with the touchscreen because it doesn’t have X-Server and the fbturbo video driver installed. A lot of LCD touchscreens can be set up by this process, but check here to see if your LCD is supported by the FBTFT driver to make sure. Scroll down the file and look for an abbreviated name of the screen you are using:
What we need to do to get the LCD working is install and configure the FBTFT drivers created by notro. There are two types of drivers we need to be concerned with here. One set of drivers is for the actual LCD display screen, and the other set of drivers is for the touchscreen sensors. Here is a good article explaining Linux kernel modules, devices, and drivers, which you may want to read for some background information. The standard version of Raspbian does not include the drivers for LCD touchscreens, so we will need to install and configure them manually. So just follow the steps below to get your LCD touchscreen working on the Raspberry Pi.
Watch the video tutorial for a quick overview of the steps:
Enable SPI
The Pi communicates with the touchscreen through SPI (serial peripheral interface). By default, SPI communication is disabled, so you need to enable it. If you’re using a version of Raspbian released after 1-31-2015, this can be done in the raspi-config menu.
If you’re using a version of Raspbian that was released before 1-31-2015, you’ll need to enable SPI by removing the entry from the blacklist file. Enter this at the command prompt to edit the file:
Read more: How to Setup an LCD Touchscreen on the Raspberry Pi