
In this instructable I will show you how to build a simple case for the Raspberry Pi B+.
I used a template I found on the internet, which should be used for a paper case, but I decided that for me a paper case is just not tough enough.
I wanted the case to be:
- non-conductive
- light
- clear (I want to know what's going on inside; see LEDs and so on)
- cheap (I only used materials I had)
- sturdy (it won't crack if you let it fall to the floor)
I used the following materials for the case: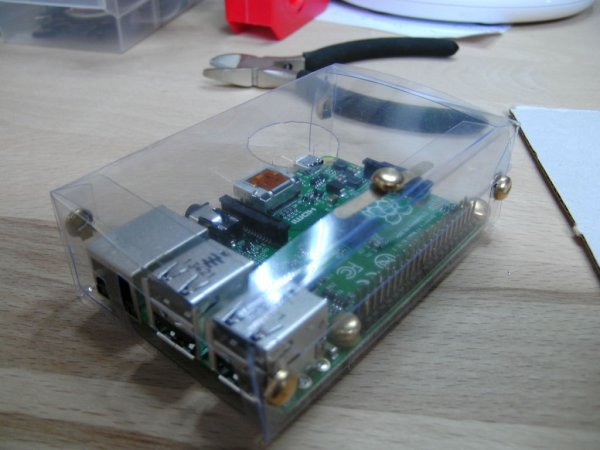
- A sheet of folder material (stronger plastic)
- some brass brackets
I used the following tools:
- X-acto knife
- tape
- ruler
- wirecutter
- punch-pliers
- a marker
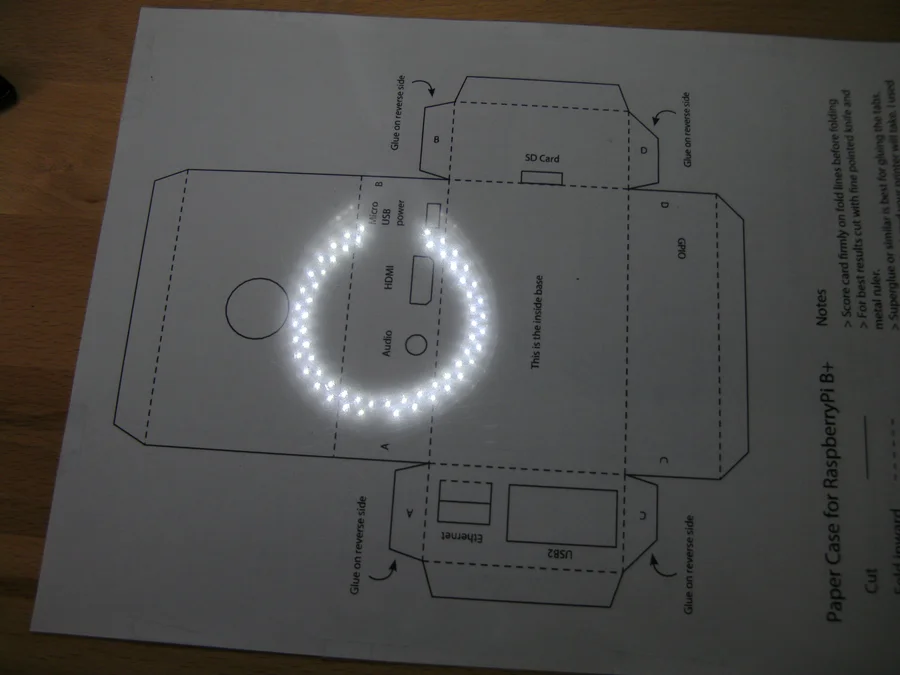
Step 1: Get the template / print it
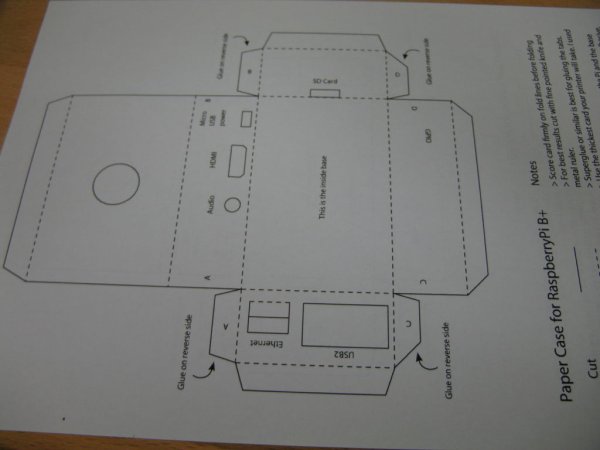
Get the template from this page.
Print it in “actual size” on a sheet of DIN A4 ( 8.2″ x 11.6″ ) paper.
Step 2: Use adhesive / cut out
Use the adhesive tape to fix the folder material on the template.
Make sure you put a piece of cardboard under the template before you start cutting, because you might damage your table or everything else that might be underneath.
Follow the instructions on the template to cut out the case template.
Step 3: Fold it
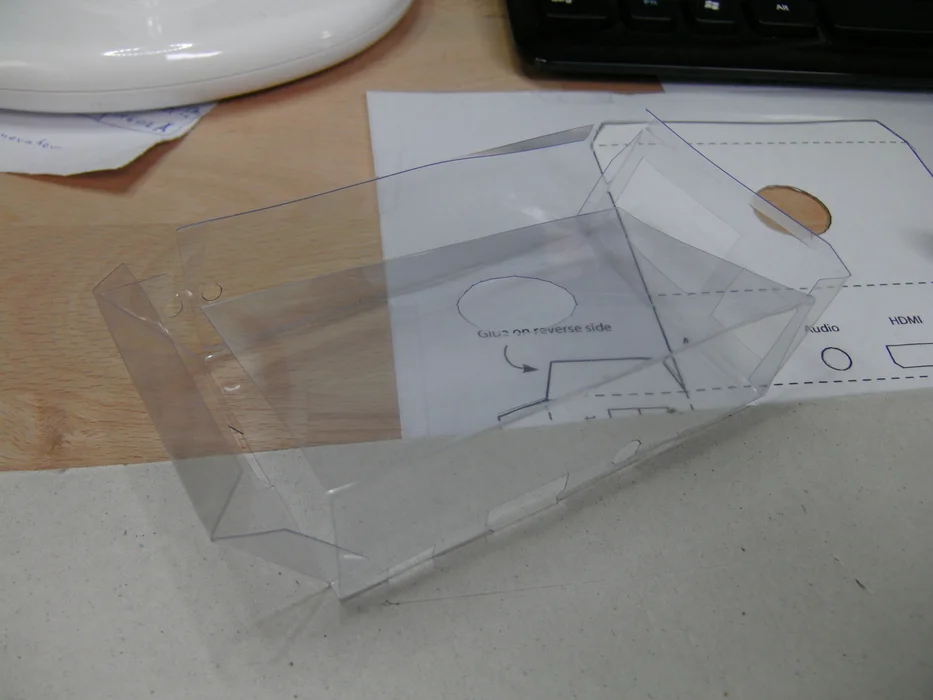
Fold the case as shown on the template to put it into shape.
Step 4: Punch the holes / glue
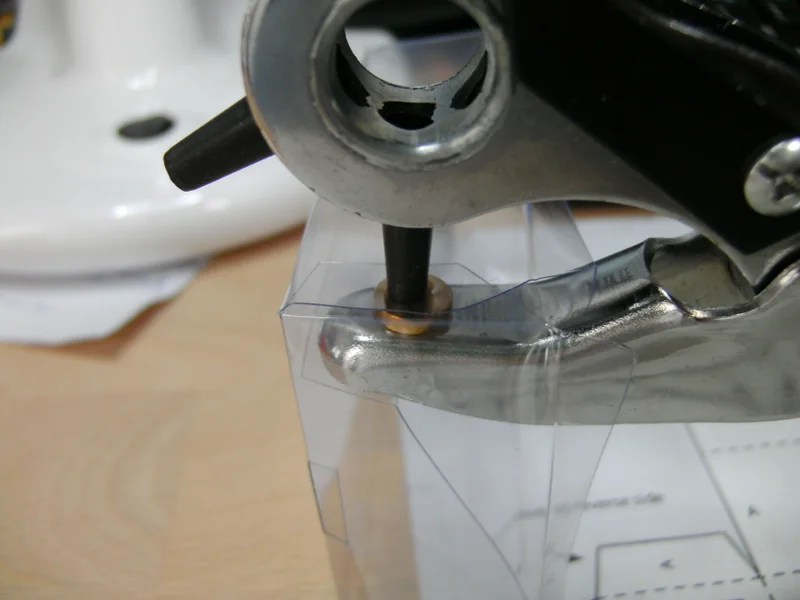
I did punch some holes into the glue lashes to put some brass brackets, I cut with a wire cutter, into them, to make the case stable.
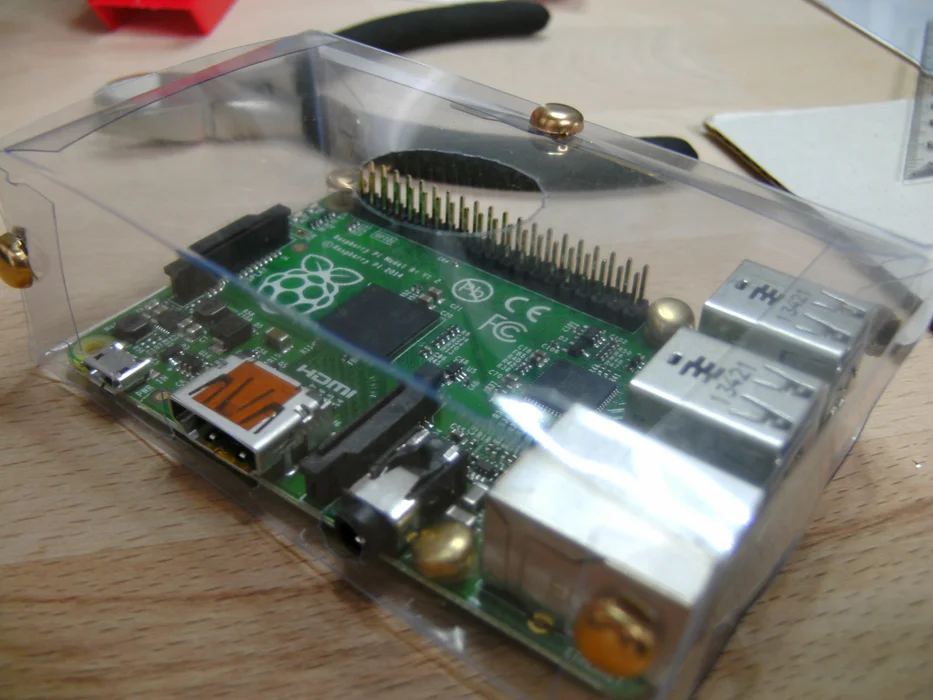
Step 5: Insert RasPi / mounting
Put in the Raspberry Pi and mark the mounting holes on the bottom to secure the Pi.
Cut some holes into the marked spots in the bottom and put some brackets through to secure the RasPi in the case.
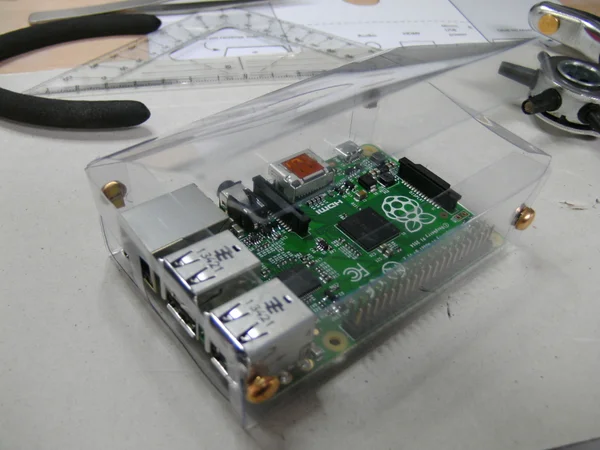
Step 6: Admire Your Case
You are done.
Congratulations to your new Raspberry Pi case.
Source: Simple Raspberry Pi B+ case