
A smart home system helps users control household devices with web UI or Tmall Elf. (Author: Huang Hao, Wu Shu)
Thanks to the original writers Huang Hao and Wu Shu for their great support for this article.
1. Installing system for Raspberry with integrated Home Assistant
First of all, we need to flash the system into the SD card of Raspberry Pi. A system image with an integrated Home Assistant is chosen in this tutorial which is convenient for the installation.
Download from here: https://drive.google.com/drive/folders/1XE-JXsdtrfDiireDyo32zDYrqbWPdlFB?usp=sharing
After that, flash it into an 8G or above sd card using etcher.

If you are the first time use the raspberry pi, I suggest you follow the raspberry pi wiki at first.
In the system32 partition of the burned card, add the file wpa_supplicant.conf with the following content (modify the SSID and PSK). After the completion, insert the Raspberry Pi to start.
country=CN
ctrl_interface=DIR=/var/run/wpa_supplicant GROUP=netdev
update_config=1
network={
ssid="Connected wifi name"
psk="wifi password"
key_mgmt=WPA-PSK
priority=1
}
Then boot the Pi and connect it to WiFi after system initialization. We can see a folder named homeassistant under /home/pi and lots of files in the folder in the terminal. That is to say, we don't need to install it manually.
Find the IP address of Pi using ipconfig.
Access Home Assistant web page using this address and port number 8123. In this tutorial, we use 192.168.123.116:8123
You need some preparations such as creating an account the first time you access it. After that, all devices sharing the same local area network are able to access the home assistant control panel installed in the Raspberry Pi using a browser with this IP.
2. Controlling Lamp using Home Assistant
We can run Home Assistant but devices can never be controlled without being connected. So let's try connecting a Mi Lamp on my desk and check out if we can control it.
Open Yeelight on our mobile phone, and set desk lamp able to be controlled via LAN. Obtain the current IP address of the desk lamp in the device information.
Open the file /home/pi/homeassistant/configuration.yaml using nano in the terminal.
Add the text to the end of the file:
yeelight:
devices:
192.168.123.182:
name: MI Light
Reboot Home Assistant using:
sudo systemctl stop home-assistant@pi
sudo systemctl start home-assistant@pi
After that, we can see a light controller on the home page and we can use it to turn on/off our lamp.

3. Controlling I/O ports of ESP8266 using Home Assistant
How can Home Assistant work with DIY devices? The answer is MQTT.
– Message Queuing Telemetry Transport, or MQTT, is a machine-to-machine (M2M)/”Internet of Things” connectivity protocol. An increasing number of devices and nodes are using this protocol to communicate with each other.
We highly recommend looking through the document on HACHINA website to get more information about MQTT: https://www.hachina.io/docs/7125.html
MQTT service has already been integrated into our system and the only thing that you need to do is add some code to the configuration file of Home Assistant.
NOTE that does not forget a space behind the colon or errors that may occur.
mqtt:
broker: 127.0.0.1
After reboot service, we can see a tab named MQTT in Developer Tools in the web UI.
We enter ha/switch1 to monitor the topic in the Listen to a topic panel and enter the same topic name to Publish a packet panel. Click PUBLISH after entering ON to Payload and we can see the message we sent just now in the monitor window below. It means the MQTT service is available.
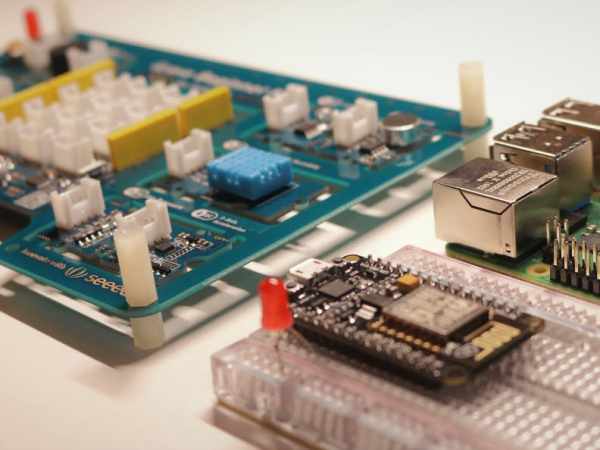
Next, let's flash the program to our ESP8266 board in order to monitor the same topic (ha/switch1) and turn ON/OFF the LED lamp via I/O port according to the Payload.
But before that, we have to change the SSID and password into our own WiFi name and password. Set mqtt_server as IP address of Raspberry Pi
After uploading, open serial monitor and you can see the command will be updated once we send an ON/OFF. The LED lamp will be turned ON/OFF simultaneously.
In order to add a button to control the LED in Home Assistant, we need to add some code to the file named configuration.yaml.
switch:
- platform: mqtt
state_topic: "ha/switch1"
command_topic: "ha/switch1"
payload_on: "ON"
payload_off: "OFF"
After rebooting service, we can see a button named MQTT Switch has been added to the homepage.
We can also use this I/O port to control some relays and turn ON/OFF some other devices such as lights or fans.
It's not difficult to control an air conditioner or television using infrared.
We use the infrared receiver to read data from remote control just after we press the power button. Once an ON has been received, the infrared transmitter sends the data and the air conditioner will be turned on.