Hello!
In this project you will learn how to control an LED via your phone or desktop computer threw apache server!
Step 1: What are we going to do in this project
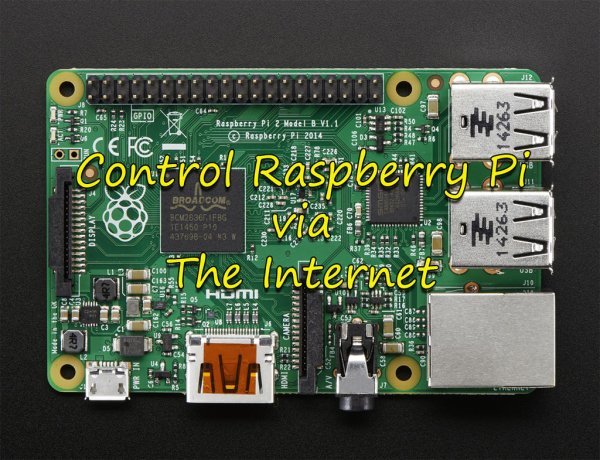
I've been working with the Raspberry Pi 2 for about a month now, and when I got it I knew I want to control it, via a website from a mobile phone or computer.
I finally got the chance to find the easiest way to do this, it only needs a Raspberry Pi 2 (of course), resistor, led and an internet connection.
Let's get into it!
Step 2: Resources
(I'm linking everything, on ebay and also amazon)
1)
Of course without a Raspberry Pi you can't do this project, I used a RPi 2, but the original one will do fine.
If you are not tight in the budget, it's the best to buy an adapter, case and maybe some heat sinks for it.
Link to buy it: ebay http://www.ebay.com/itm/EU-Power-Supply-RASPBERRY-…
amazon:http://www.amazon.com/CanaKit-Raspberry-Complete-O…
!!!WARNING!!!
The amazon link has HDMI for the raspberry pi 2 packed, if you consider using SSH, you don't need the HDMI cable.
2)
I'm using a RED colored LED, so my resistor needs to be 330 ohm, you can calculate your resistor for your led with ohms law.
Link to buy: ebay: http://www.ebay.com/itm/1-2w-Watt-0-5W-330-Ohm-330…
amazon:http://amzn.com/B009XOP5WM
You got an ohms laws calculator on the internet: http://www.ohmslawcalculator.com/ohms-law-calculat…
Ohms law:
I = V / R , R = V / I , R = resistance, V = voltage , I = amps
We know that the GPIO pin (general purpose input output) is outputting 3.3 volts and the led needs only 2 volts, so we put a resistor.
GPIO can give out 16mAmps but 4mA it's enough for the LED to light (0,004 Amps)
We start by 3,3V – 2V = 1,3V left. (we need to eliminate 1,3V, if we don't it's possible to damage the Raspberry Pi)
Ohms law is R = V / I . R = 1,3 / 0,004 (don't forget to convert the mA to A) and we get 325 ohms.
But we will use 330 ohms, because it's easier to find.
To find more about ohms law visit this link: https://en.wikipedia.org/wiki/Ohm%27s_law
3)
The RED LED, if you are using my resistance, you must use RED LEDs.
Link to buy: ebay:http://www.ebay.com/itm/3mm-5mm-Clear-White-Red-Bl…
amazon:http://amzn.com/B004UMA60S
4)
Breadboard
This is not MUST HAVE, but it's good for testing electronics, and for the next step to be easier.
5)
Jumper cables
You can buy male to male, male to female ones.
It depends on you, you can also find this anywhere.
You can find everything on this list in every electronics shop.
Step 3: Connecting the Raspberry Pi, Resistor, LED
When you get the resources, you sit down, and start connecting.
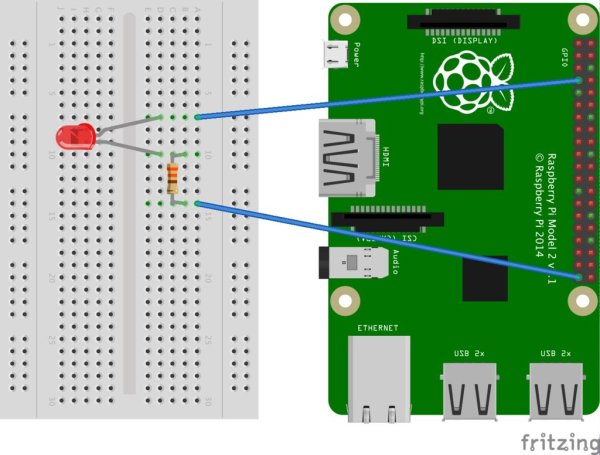
I have attached an image so it's easier for you.
As I mentioned in the previous step, the breadboard is there just for testing, it's okay if you just attach the LED and the resistor to the pins. (Do it on your own risk)
How do we attach a simple LED to our Raspberry Pi?
It's very easy.
First!
You need to determine the + and – of your LED. This is very IMPORTANT
To determine which is + and which is – you look at the length of the “legs” of the LED.
For more detail: Control LED via website


