
The Surveillance System
this year I planned to travel with my family to China for a few weeks, so we had to leave alone our house. While being on vacation, I wanted to check sometimes if everything was alright at home. So I decided to install two more cameras and connect them to the webserver of my home automation system. I had one camera attached already before and I wrote about it here. Both cameras I placed inside the house so I did not have to bother about rain. One was directed to our garden through a window, the other was directed to our living room. I could have done more thoughts about the camera placement, but I considered this more as an experiment. Also I was constrained with the cables. I wanted to use the raspberry connected to the cameras without wireless, so there was only one place left to put the cameras without drilling holes: close to my dsl modem. 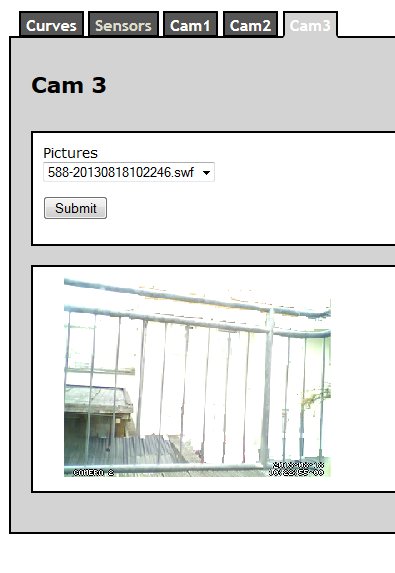
The webcams and the hub
I bought two webcam vx-800 mostly because they are cheap, and I had good experience with them with the my first camera. Unfortunately this type of camera has a fixed shutter, so it controls the light passed through with the shutter speed. The problem is that the pictures are very often overexposed. But for this time I did not want to spend more money on the them. The usb ports of the raspberry pi can only deliver about 100mA, and with two cameras, it will be over the limit. So I also bought a 4 port hub from logilink. A power supply came with it, and it was able to provide more than 1 A. It never came up to my mind before, but when you have a power supply for the hub, you dont need an additional one for the raspberry. It draws its power from the hub via usb.
The motion detection
I think it is quite useless to have a pure webcam, which constantly delivers life pictures. It is better that the cameras detect motions and store the motions on the sd card as a video. For this I installed the application motion. I created a howto guide here, so I will only describe a few settings here. In the motion config file motion.conf, I had to add (or take out the comments) the following two lines: thread /etc/motion/thread1.conf thread /etc/motion/thread2.conf So since I had two cameras, there were two config files. In the files thread1.conf and thread2.conf I adjusted the parameters target_dir and webcam_port. It worked almost instantly (I had few problems, but honestly I forgot about them). You can setup motion to generate shockwave files each time the number of pixels exceeds a threshold between two sequential pictures. I assume it is the parameter ffmpeg_video_codec. And this is exactly what I want. If there is some movement, the raspberry pi is storing this movement as a short video. Now the webserver just needs to pick up the videos and integrates them into the webpage generation process. 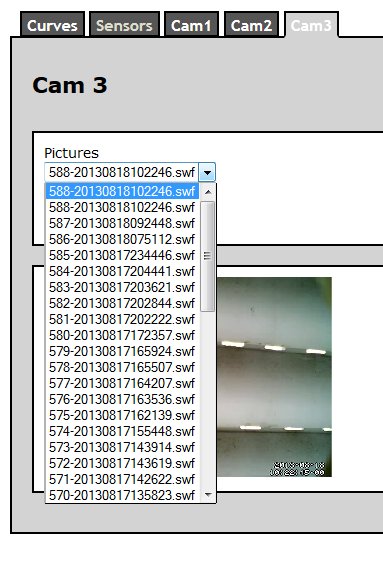
The video retrieval
my webserver runs on a different raspiberry pi, than the one which runs the motion detection with the cameras. So I implemented a getter program which downloads the swf files from the camera raspberry. I pasted the code which is doing this below. The first step, it logs into the camera raspberry with ssh and it uses a public key to overcome the need for a password, see the -i option. Then it executes the find command to get all swf files which are not older than 3 hours. In the second step, it searches for all swf files in an directory of the webserver. In the foreach loop, the program checks if the swf files already have been loaded, if not, it loads them with a scp command. Note the -i option, which is needed to omit the password entry.