
This project uses the iPhone and a raspberry pi to remote control the lamp. Both the iPhone and the raspberry pi are connected to the wifi router. The lamp on/off commands are sent from iPhone and received by the raspberry pi embedded system. Then the raspberry pi triggers the IO to control the lamp through a relay. The lamp can be replaced by other home appliances. The software is written in Python and it can be easily port to other devices.
Step 1: System diagram
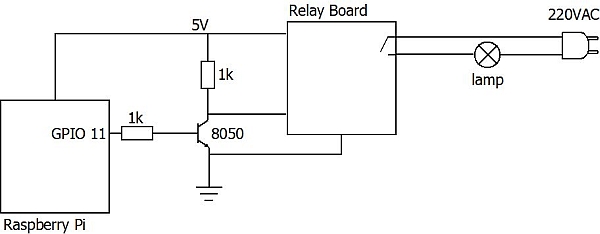
The system diagram is shown in this figure. The data flow is straightforward. The iPhone is connected to the wifi router wirelessly while the Raspberry pi is connected to the wifi router through a lan cable (this can change to wireless with a wifi adapter installed in the Raspberry pi). One of the Raspberry pi's IO is connected to a relay board. Since the relay board control voltage is 5V and the Raspberry pi output voltage is 3.3V, a transistor is used to perform the voltage transition; the detail will be introduced in step 3. Then the lamp can be controlled through the relay board.
Both the iPhone and the Raspberry pi need to run a software for communication. In this project, Python is used as the programming language. In iPhone, Pythonista is installed and run the script, a UI is also designed. In Raspberry pi, a Python script is run automatically after booting the system. The communication is based on socket TCP mode.
Step 2: Electronics
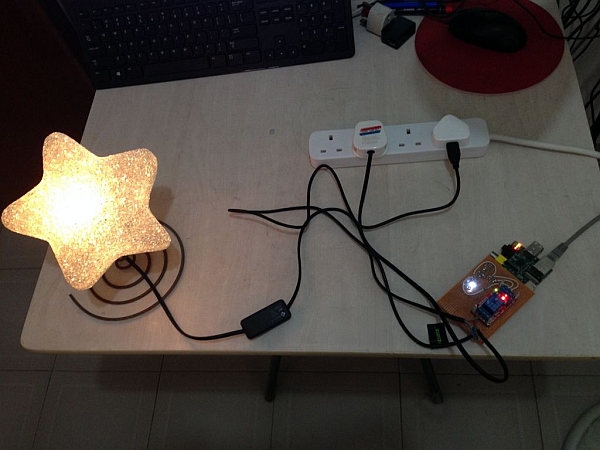
Here are the electronics parts.
1. A Raspberry pi board
2. A relay board
3. A universal board for connecting the Raspberry pi and the relay board
4. A lamp
5. A wireless router
6. A USB charger for powering up the Raspberry pi
7. A transistor 8050
8. Two resistor (1K ohm)
9. Lan cable and USB cable and
10. Of course an iPhone as the remote control
For more detail: IPhone remote controlled lamp