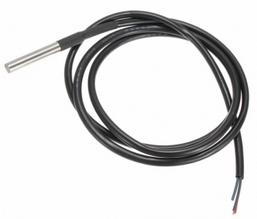
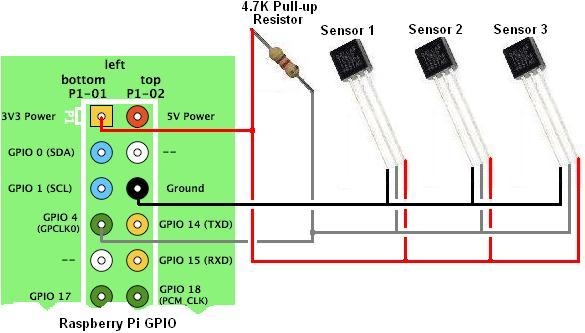
In our article DS18B20 Temperature Sensor with Raspberry Pi we detailed how the Raspberry Pi can be used to take temperature readings from a ds18b20 temperature sensor via the i2c protocol. Here we will expand that article to explain how multiple temperature sensors can be copnnected to the Raspberry Pi – particularly useful for example in solar water heating pump controllers and other differential temperature applications where two or more temperature sensors are required.

Reading temperature readings from multiple sensors down one wire is possible because each ds18b20 sensor has a unique serial number coded into it at manufacture which the Raspberry Pi can be used to identify them by.
When using multiple sensors the first thing to do is get the serial number for each sensor and physically label them so that you know which is which when you come to install them in different locations around a system.

For more detail: Measure temperatures with a 1-wire DS18B20 sensor and Raspberry Pi

