
Play all your favorite 8-bit video games with MAME and an Arduino Esplora controller.
The Raspberry Pi is great for all sorts of small computing applications — 3D printing servers, in-car computing, and more. But the Pi can also be the beating heart of a classic video arcade machine. And who doesn’t want one of those?
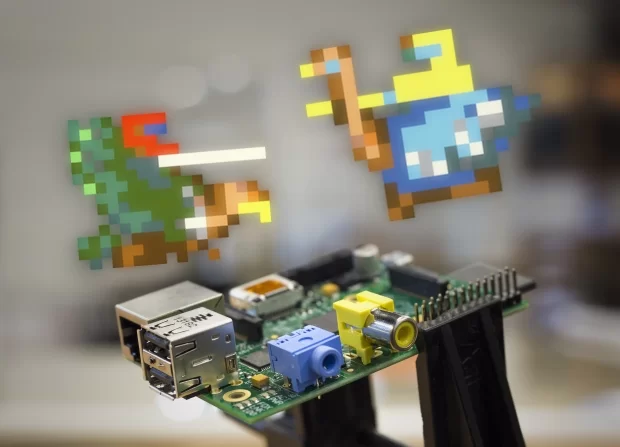
Using a distribution of Raspbian maintained by Shea Silverman called PiPlay, this Weekend Project will have you up and running some of your favorite, classic games of the 8-bit era on your a $35 ARM-based computer in no time.
To keep things simple, we’ll use the Arduino Esplora as our game controller. The Esplora is a unique entry into the Arduino family of microcontrollers. It has a number of control inputs preinstalled on the board, and the layout is familiar to anyone who has held a modern game controller. What’s more, the Esplora shares the same chipset as the Arduino Leonardo, which allows it to emulate a keyboard when plugged into a computer. This makes it pretty ideal for fast, simple gaming.
Step #1: Download PiPlay and flash an SD card
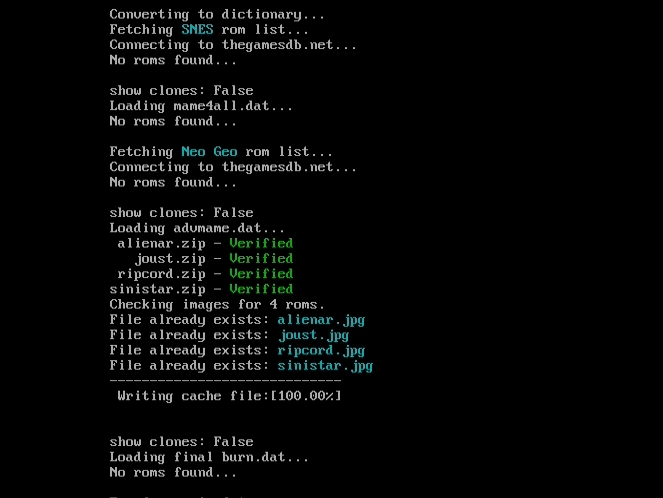
- PiPlay is a custom distribution of Linux, specifically designed to play arcade and classic ROM images. Head over to the PiPlay software repository http://sourceforge.net/projects/pimame/ and download the latest disk image.
- While you're waiting for the download to complete, it's a great time to review SD card formatting steps. Many options exist to flash an SDCard, from the command line tool dd to GUI disk utilities. Here are a few options I like:
Windows
Win32 Disk Imager, available at http://sourceforge.net/projects/win32diskimager.
OSX or Linux
Use dd from a terminal window, or if you prefer a GUI, you can use ApplePi-Baker. Of course if you are on Linux, you can also use dd.
- Burn the image to your card, and get ready to set up your Pi Arcade!
- NOTE: For more documentation on PiPlay, check out their main site — http://pimame.org — though this project tutorial should cover most of your needs.
Step #2: Configure the Raspberry Pi
- The first time you boot your Pi with a PiPlay flashed SD Card, the system boots straight into the emulation hub, bypassing raspi-config. If you're not familiar, raspi-config is the ncurses-based configuration tool which is ordinarily run at first-boot on the Raspbian distribution.
- You'll still want to take a moment to set up your Pi, ensuring that your keyboard is set up properly for your region, and that you have the full size of your SD Card available to the partition. Thankfully there's a link straight to the raspi-config in the emulation hub. With a keyboard, use the arrow keys to navigate to the last page to launch it.
- First, expand the file system — it's the first thing you see in the config menu. Next you'll want to configure your region, so that your keyboard behaves the way you need it to. Go to into internationalization options and set your locale and keyboard settings. Exit the raspi-config dialog, confirm that you want to reboot, and make sure you have a working network connection before heading to the next step.
For more detail: Raspberry Pi Home Arcade