
Introduction
This guide is a follow up to the first write up I did for my participation in the SparkFun HIR program. This guide shows how to setup a music visualizer for PCs/laptops. It uses an RGB LED panel to display the music visualization. It plays MP3s and is Java powered. This project differs from the first one in that it samples the data output to the computer’s sound card versus sampling ambient noise with a microphone or a Sparkfun sound detector.
Required Materials
This project assumes you have access to a PIXEL board. Please note that I have no afiliation with the PIXEL projectother than I write software for it and Al gives me PIXEL hardware as incentive to write more software.
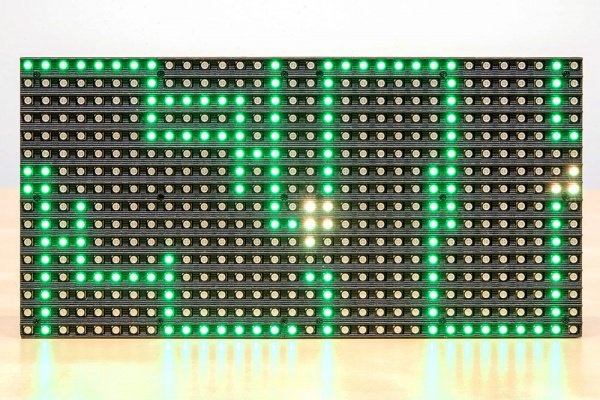
The PIXEL usually comes with an RGB LED panel, but the board alone is also available. If only the PIXEL board was acquired, then this panel from Sparkfun can be used with this project.
Other than a PIXEL unit, you need a PC or laptop that supports Java 8. To play the demo songs, an Internet connection is required. If no Internet connection is available, then select some MP3s on the filesystem for use with the music visualizer. More details on selecting MP3s from the local filesystem are below.
Hardware Assembly
Pixel
Use this quick start guide to get familiar with the PIXEL hardware.
This project can use either Bluetooth or serial (USB) for communication between the PC and the PIXEL. Before continuing, make sure you can pair/connect with the PIXEL from your computer and run the sample ‘PC application’.
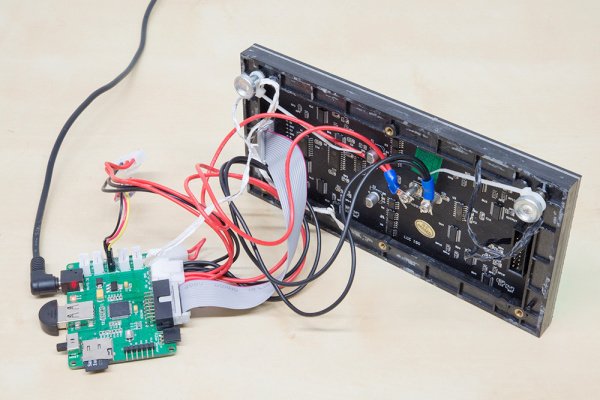
Here is what the PIXEL could look like once assembled:
Software Prerequisites and Installation
JRE
This project requires Java 8 Standard Edition. Fortunately, Java runs on many platforms. Download and install the JRE (Java Runtime Environment) for your PC/laptop’s operating system.
Java Application
This project reuses an existing app to sample data from the computer’s sound card. The app uses the modern media API for Java, JavaFX, to play MP3s. The original developer is Jasper Pots.
Software Usage
Running the App
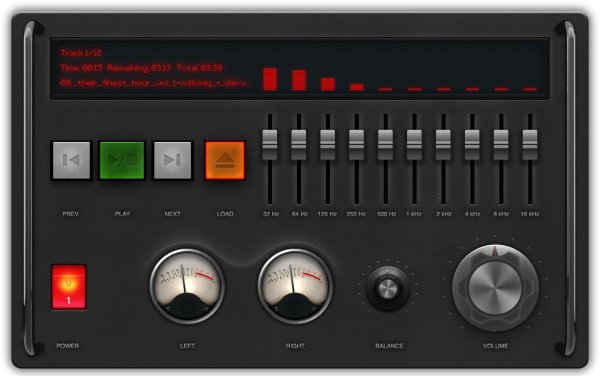
Once Java 8 SE is installed, run the application by double clicking the JAR file you downloaded above. This will bring up the user interface for the application.
If Bluetooth is used, then a system tray popup is shown, prompting for the passcode to pair with the PIXEL. Enter the passcode for your PIXEL board (0000 for V2, 4545 for V1), before the popup dismisses itself. Otherwise, an application restart is needed to try pairing again.
Once the PIXEL connection is initialized, a yellow message scrolls across the RGB LED panel. Then a sample music file is downloaded and the music visualization begins on the RGB LED panel.
Here is a quick demo:
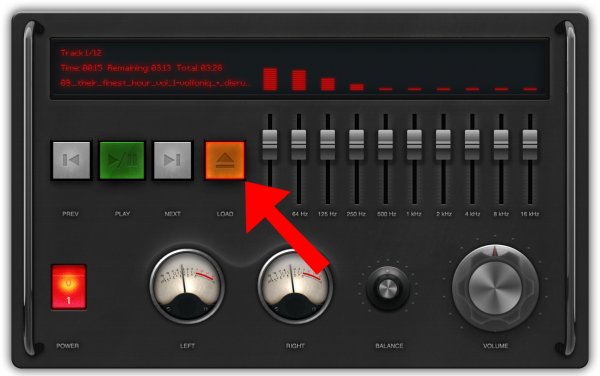
Playing Local MP3 Files
Use the ‘Load’ button to play MP3s on the local filesystem.
Resources and Going Further
Source Code
The original source code for the equalizer was made available by Jasper Pots. I added PIXEL/IOIO code to visualize the music on an LED panel, as well. The source code for this project is available at this GitHub repo.
Changing Colors
The color for the sound visualizer is hardcoded to SparkFun red. This hard coded color is defined in the Pixel#drawEqualizer() method, but it could be made configurable at runtime.
See the ‘Modify the Java App’ section of the Sound Visualizer tutorial, for more details on how to make modifications with Netbeans and re-build the app to see code changes.